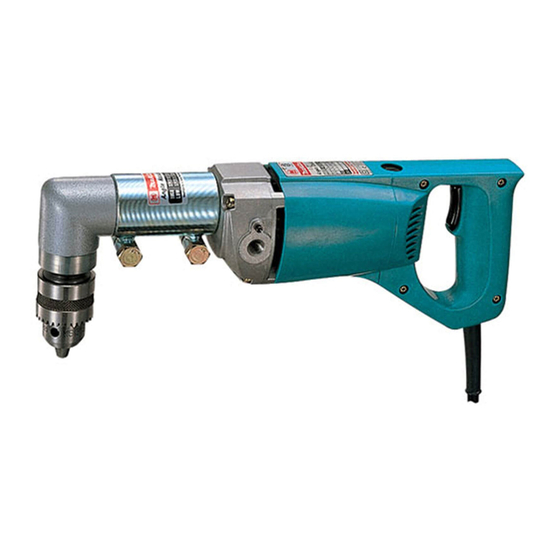
Makita 6300LR Buku Petunjuk - Halaman 5
Jelajahi secara online atau unduh pdf Buku Petunjuk untuk Bor Makita 6300LR. Makita 6300LR 8 halaman. Makita angle drill instruction manual
Juga untuk Makita 6300LR: Buku Petunjuk (13 halaman)
FUNCTIONAL DESCRIPTION
CAUTION:
Always be sure that the tool is switched off and
•
unplugged before adjusting or checking function on
the tool.
Switch action
1
3
003012
CAUTION:
Before plugging in the tool, always check to see
•
that the switch trigger actuates properly and returns
to the "OFF" position when released.
Change the direction of rotation only when the tool
•
comes to a complete stop. Changing it before the
tool stops may damage the tool.
The switch is reversible, providing either clockwise or
counterclockwise rotation. To start the tool, simply pull
the lower part of the switch trigger for clockwise or the
upper part for counterclockwise. Release the switch
trigger to stop.
ASSEMBLY
CAUTION:
Always be sure that the tool is switched off and
•
unplugged before carrying out any work on the tool.
Installing or removing angle attachment
003062
The angle head has a spindle on each end. For higher
speed operation, attach the drill chuck to the end marked
"HIGH". The higher speed is better suited for drilling
smaller diameter holes.
For lower speed operation, attach the drill chuck to the
end marked "LOW". The lower speed is best utilized for
drilling larger diameter holes.
1. Counterclockwise
2. Switch trigger
3. Clockwise
2
1
1. Reference
markings
When you wish to attach the drill chuck to the opposite
end to change the speed, proceed as follows.
First, open the chuck jaws completely and then remove
the screw through the chuck opening by turning it
clockwise (left hand threaded screw) with the hex wrench.
Grip the hex end of the spindle with the wrench and place
the chuck key in one of the key holes. Hammer the chuck
key lightly in the direction of the arrow (counterclockwise)
until the drill chuck can be removed. If you use a special
wrench set (optional accessory), you can remove the drill
chuck easily.
1
2
003063
To install the drill chuck, screw it onto the angle head
firmly (do not overtighten) and replace the screw
removed earlier from the drill chuck. It screws in
counterclockwise.
Fit the sleeve onto the hex end of the drill spindle and
then slip on the joint, tightening the joint bolt (A) with the
wrench.
1
2
003064
Slide the angle head into the joint, rotate the angle head
to the desired drilling position and tighten the joint bolt (B)
with the wrench.
1
003065
CAUTION:
To avoid damage to the drill and the angle head, do
•
not tighten the joint bolts without the joint properly
positioned on the drill and on the angle head.
5
1. Wrench
2. Chuck key
1. Angle head
2. Joint
3. Joint bolt (A)
4. Sleeve
3
4
1. Joint bolt (B)