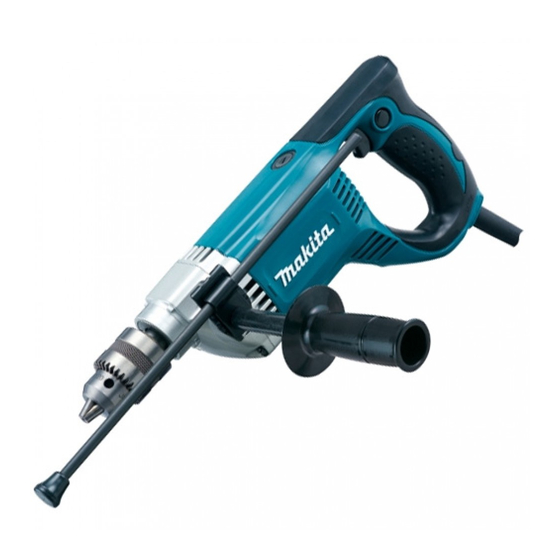
Makita 6305 Buku Petunjuk - Halaman 5
Jelajahi secara online atau unduh pdf Buku Petunjuk untuk Bor Makita 6305. Makita 6305 9 halaman. 13mm (1/2")
Juga untuk Makita 6305: Spesifikasi (2 halaman), Informasi Teknis (8 halaman)

ASSEMBLY
CAUTION:
•
Always be sure that the tool is switched off and
unplugged before carrying out any work on the
tool.
Installing side grip (auxiliary handle)
CAUTION:
•
Always be sure that the side grip is installed
securely before operation.
1
2
► 1. Tool barrel 2. Side grip (auxiliary handle)
Screw the side grip on the tool barrel securely.
For work with a side grip at the other different angles,
another type of side grip (auxiliary handle) is available
as an optional accessory. Follow the installation proce-
dure below.
Installing or removing drill bit
1
2
► 1. Bit 2. Chuck 3. Chuck key
To install the bit, place it in the chuck as far as it will go.
Tighten the chuck by hand. Place the chuck key in each
of the three holes and tighten clockwise. Be sure to
tighten all three chuck holes evenly.
To remove the bit, turn the chuck key counterclockwise
in just one hole, then loosen the chuck by hand.
After using the chuck key, be sure to return to the orig-
inal position.
Depth gauge
► 1. Depth gauge 2. Stopper holder 3. Concave
4. Convex 5. Side grip (auxiliary handle)
The depth gauge is convenient for drilling holes of
uniform depth.
Loosen the side grip and remove it. Fit the convex on the
stopper holder to the concave on the tool barrel. Insert the
side grip into the stopper holder and screw the side grip.
Insert the depth gauge into the hole in the stopper
holder. Adjust the depth gauge to the desired depth and
then tighten the side grip firmly.
3
► 1. Side grip (auxiliary handle) 2. Depth gauge
Side grip assembly (optional accessory)
3
► 1. Depth gauge 2. Protrusions 3. Teeth 4. Side grip
(auxiliary handle)
Install the side grip assembly so that the teeth on the
grip fit in between the protrusions on the tool barrel.
5 ENGLISH
2
1
4
5
1
1
4
3
2
2
