Garmin epix Panduan Pemilik - Halaman 7
Jelajahi secara online atau unduh pdf Panduan Pemilik untuk Menonton Garmin epix. Garmin epix 28 halaman. Touchscreen gps/glonass mapping watch
Juga untuk Garmin epix: Panduan Memulai Cepat (23 halaman)
2
Hold
.
3
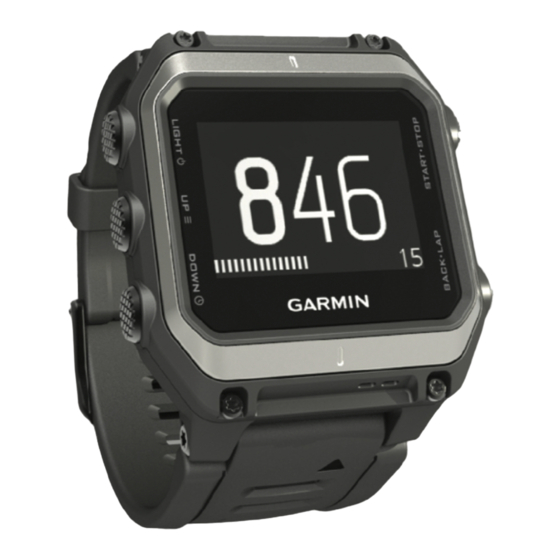
Select View Runs.
4
Select UP and DOWN to view details of your last run, your
current run, and your total runs.
The run screens include time, distance traveled, maximum
speed, average speed, and total descent.
Hiking
Going for a Hike
Before you go for a hike, you should charge the device
(Charging the
Device).
1
From the watch face, select START.
2
Select Hike.
3
Go outside, and wait while the device locates satellites.
4
Select START to start the timer.
History is recorded only while the timer is running.
5
Start your activity.
The device records a track while you hike.
6
When you need to take a break or pause the device from
tracking, select STOP > Resume Later.
The device saves the status of your hike and enters low
power mode.
7
Select START > Hike > Resume to resume tracking.
8
Select UP or DOWN to view other data pages (optional).
9
After you complete your activity, select STOP > Save.
Auto Climb
When the auto climb feature is enabled for your activity, the
device detects when you start climbing and transitions
automatically to a different data page. You can enable auto
climb in the activity settings for some activities, such as running,
hiking, or climbing
(Activity App
the data page to be displayed and the ascent threshold used to
detect a climb.
Running
Going for a Run
Before you go for a run, you should charge the device
the
Device). Before you can use an ANT+ sensor for your run,
you must pair the sensor with your device
Sensors).
1
Put on your ANT+ sensors, such as a foot pod or heart rate
monitor (optional).
2
From the watch face, select START.
3
Select Run.
4
When using optional ANT+ sensors, wait while the device
connects to the sensors.
5
Go outside, and wait while the device locates satellites.
6
Select START to start the timer.
History is recorded only while the timer is running.
7
Start your activity.
8
Select LAP to record laps (optional).
9
Select UP or DOWN to view other data pages (optional).
10
After you complete your activity, select STOP > Save.
Using the Metronome
The metronome feature plays tones at a steady rhythm to help
you improve your performance by training at a faster, slower, or
more consistent cadence.
1
Hold
.
2
Select Settings > Apps.
Activities
Settings). You can also select
(Charging
(Pairing ANT+
3
Select an activity.
NOTE: This feature is not available for all activities.
4
Select Metronome > Status > On.
5
Select an option:
• Select Beats Per Minute to enter a value based on the
cadence you want to maintain.
• Select Alert Frequency to customize the frequency of the
beats.
• Select Sounds to customize the metronome tone and
vibration.
6
If necessary, select Preview to listen to the metronome
feature before you run.
7
Hold DOWN to return to the clock.
8
Go for a run
(Going for a
The metronome starts automatically.
9
During your run, select UP or DOWN to view the metronome
screen.
10
If necessary, hold UP to change the metronome settings.
Biking
Going for a Ride
Before you go for a ride, you should charge the device
(Charging the
Device). Before you can use an ANT+ sensor for
your ride, you must pair the sensor with your device
ANT+
Sensors).
1
Pair your ANT+ sensors, such as a heart rate monitor, speed
sensor, or cadence sensor (optional).
2
From the watch face, select START.
3
Select Bike.
4
When using optional ANT+ sensors, wait while the device
connects to the sensors.
5
Go outside, and wait while the device locates satellites.
6
Select START to start the timer.
History is recorded only while the timer is running.
7
Start your activity.
8
Select UP or DOWN to view other data pages (optional).
9
After you complete your activity, select STOP > Save.
Swimming
The device is intended for surface swimming. Scuba diving with
the device may damage the product and will void the warranty.
NOTE: The device cannot record heart rate data while
swimming.
Going for a Pool Swim
Before you go for a swim, you should charge the device
(Charging the
Device).
1
From the watch face, select START.
2
Select Pool Swim.
3
Select your pool size, or enter a custom size.
4
Select START to start the timer.
History is recorded only while the timer is running.
5
Start your activity.
The device automatically records swim intervals and lengths.
6
Select UP or DOWN to view other data pages (optional).
7
When resting, select LAP to pause the timer.
8
Select LAP to restart the timer.
9
After you complete your activity, select STOP > Save.
Run).
(Pairing
NOTICE
3