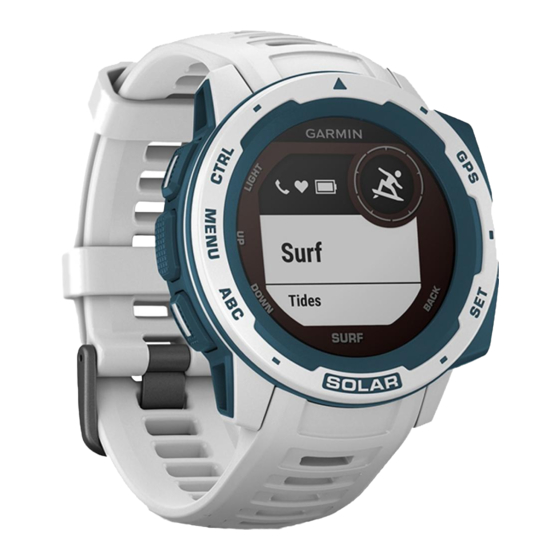
Garmin INSTINCT SOLAR SURF Panduan Pemilik - Halaman 14
Jelajahi secara online atau unduh pdf Panduan Pemilik untuk Menonton Garmin INSTINCT SOLAR SURF. Garmin INSTINCT SOLAR SURF 36 halaman.

Adding Alternate Time Zones
You can display the current time of day in additional time zones
on the alternate time zones widget. You can add up to three
alternate time zones.
NOTE: You may need to add the alternate time zones widget to
the widget loop
(Customizing the Widget Loop, page
1
From the watch face, press UP or DOWN to view the
alternate time zones widget.
2
Press GPS.
3
Select Add Zone.
4
Select a time zone.
5
If necessary, rename the time zone.
Navigation
Saving Your Location
You can save your current location to navigate back to it later.
1
From any screen, hold GPS.
2
Press GPS.
3
If necessary, press DOWN to edit location information.
Editing Your Saved Locations
You can delete a saved location or edit its name, elevation, and
position information.
1
From the watch face, press GPS.
2
Select Navigate > Saved Locations.
3
Select a saved location.
4
Select an option to edit the location.
Viewing the Altimeter, Barometer, and
Compass
The device contains internal altimeter, barometer, and compass
sensors with automatic calibration.
1
From any screen, hold ABC.
2
Press UP or DOWN to view separate altimeter, barometer,
and compass screens.
Projecting a Waypoint
You can create a new location by projecting the distance and
bearing from your current location to a new location.
NOTE: You may need to add the Project Wpt. app to the
activities and apps list.
1
From the watch face, press GPS.
2
Select Project Wpt..
3
Press UP or DOWN to set the heading.
4
Press GPS.
5
Press DOWN to select a unit of measure.
6
Press UP to enter the distance.
7
Press GPS to save.
The projected waypoint is saved with a default name.
Navigating to a Destination
You can use your device to navigate to a destination or follow a
course.
1
From the watch face, press GPS.
2
Select an activity.
3
Hold MENU.
4
Select Navigation.
5
Select a category.
10
6
Respond to the on-screen prompts to choose a destination.
7
Select Go To.
Navigation information appears.
8
Press GPS to begin navigation.
16).
Creating and Following a Course on Your
Device
1
From the watch face, press GPS.
2
Select an activity.
3
Hold MENU.
4
Select Navigation > Courses > Create New.
5
Enter a name for the course, and select
6
Select Add Location.
7
Select an option.
8
If necessary, repeat steps 6 and 7.
9
Select Done > Do Course.
Navigation information appears.
10
Press GPS to begin navigation.
Creating a Course on Garmin Connect
Before you can create a course on the Garmin Connect app,
you must have a Garmin Connect account
page
13).
1
From the Garmin Connect app, select
2
Select Training > Courses > Create Course.
3
Select a course type.
4
Follow the on-screen instructions.
5
Select Done.
NOTE: You can send this course to your device
Course to Your Device, page
Sending a Course to Your Device
You can send a course you created using the Garmin Connect
app to your device
page
10).
1
From the Garmin Connect app, select
2
Select Training > Courses.
3
Select a course.
4
Select
5
Select your compatible device.
6
Follow the on-screen instructions.
Viewing or Editing Course Details
You can view or edit course details before you navigate a
course.
1
From the watch face, press GPS.
2
Select an activity.
3
Hold MENU.
4
Select Navigation > Courses.
5
Press GPS to select a course.
6
Select an option:
• To begin navigation, select Do Course.
• To view the course on the map and pan or zoom the map,
select Map.
• To begin the course in reverse, select Do Course in
Reverse.
• To view an elevation plot of the course, select Elevation
Plot.
10).
(Creating a Course on Garmin Connect,
> Send to Device.
.
(Garmin Connect,
or
.
(Sending a
or
.
Navigation
