Garmin Fishfinder 320C Panduan Pemilik dan Panduan Referensi - Halaman 18
Jelajahi secara online atau unduh pdf Panduan Pemilik dan Panduan Referensi untuk Sistem GPS Kelautan Garmin Fishfinder 320C. Garmin Fishfinder 320C 38 halaman. Sunlight-readable color sonar
Juga untuk Garmin Fishfinder 320C: Panduan Templat (1 halaman), Spesifikasi (2 halaman), Spesifikasi (2 halaman)

Unit Operation
Adjustment Menu Options
Current
adjustment
setting
'Normal'
setting
area
Adjustment Menu options
Current option
Adjustment
window
Pointer
10
Using the Adjustment Menu
The Adjustment Menu allows direct access to the settings and features most commonly used on the
Sonar Page. There are 10 main adjustment options available: Range, Zoom, View, Gain, Target Level,
Whiteline, Frequency, Depth Line, Noise Reject, and Scroll. All adjustments may be made by using the
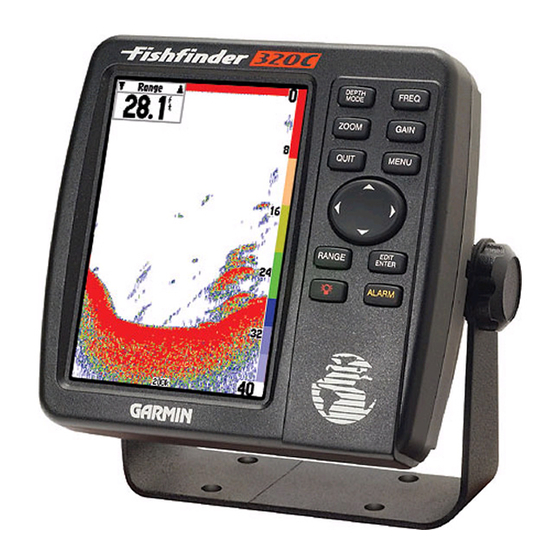
ARROW KEYPAD and ENTER key. The currently selected option will appear in the upper left of the
display with an up and down arrow on each side of the name.
To change an Adjustment Menu setting:
1. Press the MENU key to bring up a list of all options and their current settings. The adjustment window
will automatically time-out and disappear when idle for 20 seconds or you may press QUIT to exit. High-
light the desired option to change and press ENTER to bring up the Adjustment window. Alternately,
press the dedicated ZOOM, FREQ, GAIN or RANGE key to adjust the desired option.
2. With the ARROW KEYPAD, move UP or DOWN and place the setting bar (or pointer) at the desired per-
centage (Off, 1-100%), setting or range. When changing most adjustments, an open space will appear
on the scale to show where the of 'Normal' or default setting would appear. Once set to 'Normal', the
setting bar will be replaced by the word 'Normal'.
3. Press ENTER or QUIT to accept the new setting and return to the sonar graph.
For users accustomed to other Garmin sonar products, the current adjustment will appear in the upper
left corner. For fast adjustment from the Sonar Page, press LEFT or RIGHT on the ARROW KEYPAD to
scroll through the options, then press UP or DOWN on the ARROW KEYPAD to immediately change the
current option or the ENTER key to review the current setting before making changes.
Adjustment Options
The Adjustment Menu allows direct access to the settings and features most commonly used. These
available adjustments are:
• Range — sets the display depth range used for viewing. The unit can be set to automatically track the
bottom or set to a user-specifi ed depth range (see "Custom Range" pg. 16).
• Zoom — used to quickly select a display zoom scale or to split the display. When a scale other than
'No Zoom' is selected, the Adjustment Menu will display a new selection labeled View or Span.
