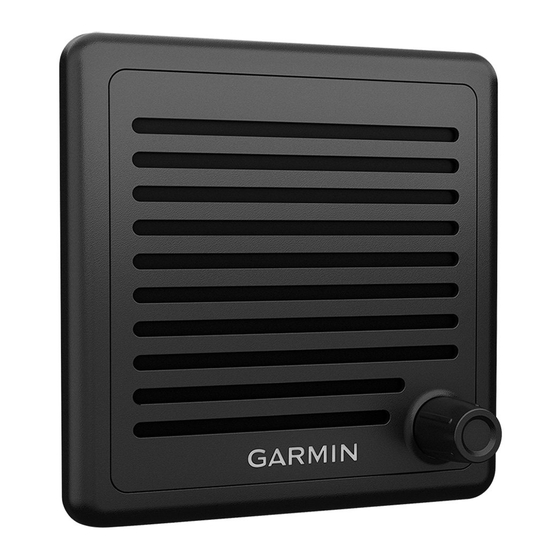
Garmin VHF 315 Series Panduan Petunjuk Instalasi - Halaman 2
Jelajahi secara online atau unduh pdf Panduan Petunjuk Instalasi untuk Radio Kelautan Garmin VHF 315 Series. Garmin VHF 315 Series 15 halaman.
Juga untuk Garmin VHF 315 Series: Panduan Petunjuk Instalasi (6 halaman), Panduan Pemilik (32 halaman)

VHF Antenna Mounting and EME Exposure
WARNING
Radio operators with cardiac pacemakers, life-support machines, or electrical medical equipment should not be
exposed to excessive radio-frequency (RF) fields, because the RF field may interfere with the function of their
medical equipment.
CAUTION
This device generates and radiates radio frequency (RF) electromagnetic energy (EME). Failure to observe
these guidelines may expose people to RF radiation absorption exceeding the maximum permissible exposure
(MPE).
Garmin
declares an MPE radius of 2.48 m (97.64 in.) for this system, which was determined using 5 W output
®
to an omni-directional, 6 dBi gain antenna. The antenna should be installed to maintain a distance of 2.48 m
(97.64 in.) between the antenna and all people.
Mounting the Device
NOTICE
If you are mounting the device in fiberglass, when drilling the pilot holes, use a countersink bit to drill a
clearance counterbore through only the top gel-coat layer. This will help to avoid cracking in the gel-coat layer
when the screws are tightened.
Before you mount the device, you must select a mounting location and determine the mounting hardware
needed for the surface.
NOTE: Mounting hardware is included with the device, but it may not be suitable for the mounting surface.
1 Place the device in the mounting location and mark the location of the pilot holes.
2 Using a bit appropriate for the surface and the mounting hardware, drill a pilot hole for one corner of the
device.
3 Loosely fasten the device to the surface with one corner and examine the other three pilot-hole marks.
4 Mark new pilot-hole locations if necessary.
5 Remove the device from the mounting surface.
6 Drill the appropriate pilot holes for the other three marks.
7 Secure the device to the mounting location.
2
