Garmin Delta Smart Panduan Pemilik - Halaman 5
Jelajahi secara online atau unduh pdf Panduan Pemilik untuk Produk Perawatan Hewan Peliharaan Garmin Delta Smart. Garmin Delta Smart 12 halaman. On-collar training/obedience device and activity tracker for dogs

Getting Started
See the Important Safety and Product Information guide in the
product box for product warnings and other important
information.
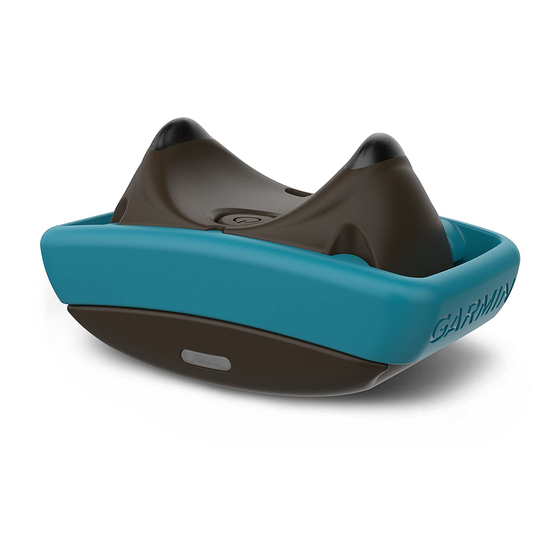
Delta Smart Dog Collar Device
Power key
Status LED
Contact points
Charging clip contacts
Collar band
Charging the Dog Collar Device
To prevent corrosion, thoroughly dry the contacts on the dog
collar device and the surrounding area before connecting the
charging clip.
You should fully charge the battery before you use the device for
the first time. Charging a fully depleted battery takes about two
hours.
1
Snap the device
onto the charging clip
2
Plug the power cable into a power source.
The status LED is solid red when the device is charging.
3
After the status LED turns solid green, remove the charging
clip from the device.
Turning On the Dog Collar Device
• To turn on the dog collar device, hold the power key until the
status LED turns green and the device beeps.
• To turn on the dog collar device in pairing mode, hold the
power key until the status LED turns blue.
Turning Off the Device
• On the dog collar device, hold the power key until the status
LED turns solid red, and release the power key.
The device beeps.
Pairing Your Smartphone with the Dog Collar
Device
You can use the Garmin Canine
smartphone to pair your dog collar device using Bluetooth
Smart wireless technology.
Getting Started
WARNING
NOTICE
.
™
app on your compatible
1
Go to www.garmin.com/apps, and download the Garmin
Canine app to your smartphone.
2
Open the Garmin Canine app on your smartphone.
3
Follow the on-screen instructions to create an account, set up
your dog profile, and pair the dog collar device.
4
Bring your smartphone within 10 m (33 ft.) of the dog collar
device.
5
On the dog collar device, hold the power key until the status
LED turns blue to enter pairing mode.
When the device is paired with your smartphone, a message
appears.
Attaching the Dog Collar Device to a Collar
Strap
You can attach the dog collar device to a collar strap that is a
maximum of 25.4 mm wide (1 in.) and 2.78 mm thick (0.11 in.).
1
Remove the collar band
2
Select a collar band.
3
Loop the collar strap
4
Place the device
the collar band.
5
Snap the collar band onto the device.
6
Pull the collar strap until it is tight across the front of the
device.
Fitting the Collar on Your Dog
To help reduce the chance of irritation, remove the collar when
not in use. You should check the fit and comfort of the collar
daily.
This device is not intended for human use. Do not attempt to
use on any person.
Do not spray the device with harsh chemicals including but not
limited to flea or tick spray. Always ensure that all flea or tick
spray applied to the dog is completely dry before placing the
collar on the dog. Small amounts of harsh chemicals can
damage the plastic components.
In order to effectively train the dog, the collar and device must fit
the dog properly. If the collar is too loose or positioned
incorrectly, stimulation may be inconsistent. This can delay or
prevent successful training.
1
Position the device at the front of the dog's neck, with the
status LED facing toward the dog's chin and the contact
points against the throat.
TIP: For bark correction, the device contact points should be
positioned near the dog's vocal cords. This location varies
based on the breed of dog. If the device does not seem to
detect the dog's barks, you should move the device closer to
or farther from the dog's body to find the ideal location.
2
®
Confirm that the ID tags on the collar strap do not come into
contact with the device.
from the device.
through the collar band.
in the loop between the collar strap and
CAUTION
1
