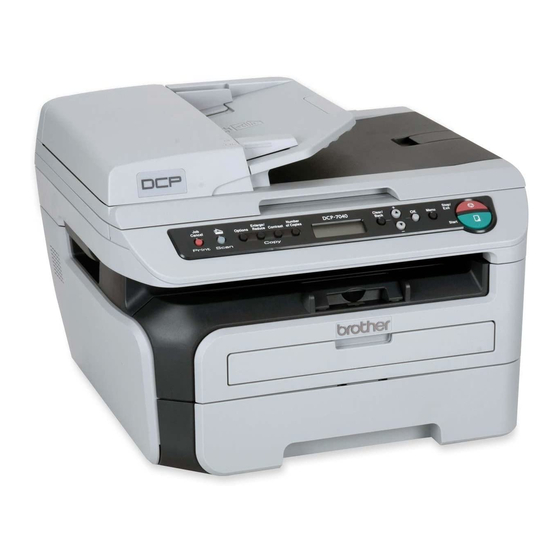
Brother DCP-7030 Panduan Pengaturan Cepat - Halaman 14
Jelajahi secara online atau unduh pdf Panduan Pengaturan Cepat untuk Semua dalam Satu Printer Brother DCP-7030. Brother DCP-7030 18 halaman. Quick setup guide - spanish
Juga untuk Brother DCP-7030: Panduan Pengaturan Cepat (20 halaman), Panduan Pengaturan Cepat (19 halaman), Panduan Pengaturan Cepat (32 halaman), Panduan Pengaturan Cepat (32 halaman), (Bahasa Inggris) Panduan Konfigurasi Cepat (20 halaman)

STEP 2
Installing the Driver & Software
For USB Interface Cable Users
3
For Mac OS X 10.2.4 or greater
Important
Make sure that you have finished the
instructions from step 1 Setting Up the
Machine on pages 4 through 6.
Note
For Mac OS X 10.2.0 to 10.2.3 users, upgrade to
Mac OS X 10.2.4 or greater. (For the latest
information for Mac OS X, visit
http://solutions.brother.com)
1
Plug the AC power cord into an AC outlet. Turn
the power switch on.
2
Remove the label covering the USB interface
socket.
3
Connect the USB interface cable to your
computer, and then connect it to the machine.
Improper Setup
DO NOT connect the machine to a USB port on
a keyboard or a non-powered USB hub.
Brother recommends that you connect the
machine directly to your computer.
4
Turn on your Macintosh.
5
Put the supplied CD-ROM for Macintosh into
your CD-ROM drive.
6
Double-click the Start Here OSX icon to install.
Follow the on-screen instructions.
12
1
2
Note
• Please see the Software User's Guide on the
CD-ROM to install the PS driver. (DCP-7045N only)
• Please wait, it will take a few seconds for the
software to install. After the installation, click
Restart to finish installing the software.
7
The Brother software will search for the Brother
device. During this time the following screen
will appear.
8
When this screen appears, click OK.
For Mac OS X 10.3.x or greater users:
The MFL-Pro Suite, Brother printer driver,
scanner driver and Brother
ControlCenter2 have been installed and
the installation is now complete.
Go to step 13.
9
For Mac OS X 10.2.4 to 10.2.8 users:
Click Add.
10
Choose USB.
11
Choose your model name, and then click Add.
12
Click Print Center, then Quit Print Center.
The MFL-Pro Suite, Brother printer driver,
scanner driver and Brother
ControlCenter2 have been installed and
the installation is now complete.
13
To install Presto! PageManager, double-click
the Presto! PageManager icon and follow the
on-screen instructions.
Presto! PageManager has been installed
and the installation is now complete.
