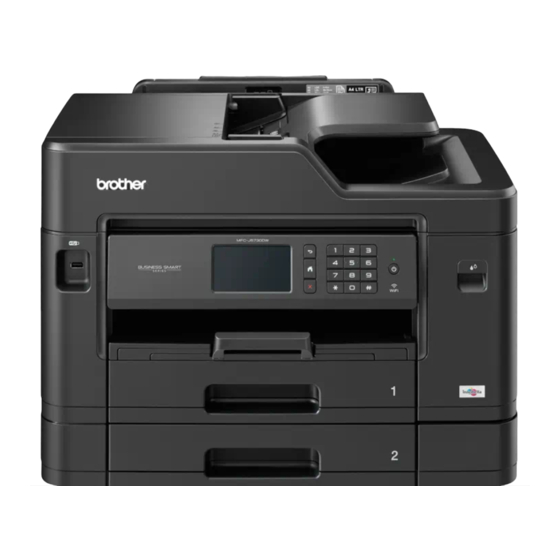
Brother MFC-J5730DW Panduan Referensi - Halaman 17
Jelajahi secara online atau unduh pdf Panduan Referensi untuk Semua dalam Satu Printer Brother MFC-J5730DW. Brother MFC-J5730DW 32 halaman.
Juga untuk Brother MFC-J5730DW: Panduan Pengaturan Cepat (2 halaman)

Select the number you want, and
then press [Apply].
• [Caller ID History] (Select a
number from the Caller ID history.)
Press [Call History] > [Caller
ID History].
Select the number you want, and
then press [Apply].
• [Address Book] (Select a number
from the Address Book.)
Press [Address Book].
Do one of the following:
- Select the number you want, and
then press [Apply].
- Press
letter of the name and press
[OK]. Press the name you want to
dial. If the name has two numbers,
press the number you want. Press
[Apply].
If the LDAP search is available, the result
will be shown on the Touchscreen with
.
4
To change the fax settings, press
[Options].
When finished, press [OK].
5
Press [Fax Start].
6
Do one of the following:
• If you are using the ADF, the machine
starts scanning and sending the
document.
• If you are using the scanner glass
and selected [Mono] in the
[Colour Setting], the machine
starts scanning the first page.
Go to the next step.
• If you are using the scanner glass
and selected [Colour] in the
[Colour Setting], the
, and then enter the first
Touchscreen asks if you want to send
a colour fax.
Press [Yes (Colour fax)] to
confirm. The machine starts dialling
and sending the document.
7
When the Touchscreen displays [Next
Page?], do one of the following:
• Press [No] when finished scanning
pages. The machine starts sending
the document.
• Press [Yes] to scan another page.
Place the next page on the scanner
glass, and then press [OK]. The
machine starts scanning the page.
Repeat this step for each additional
page.
16
