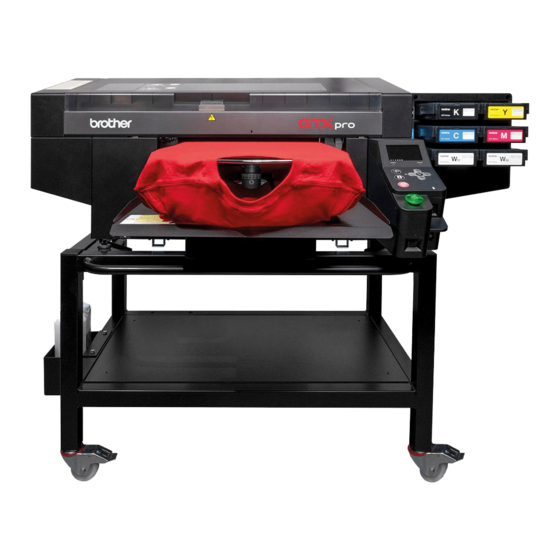
Brother GTX pro Panduan Pengguna Cepat - Halaman 6
Jelajahi secara online atau unduh pdf Panduan Pengguna Cepat untuk Printer Brother GTX pro. Brother GTX pro 15 halaman. Garment printer
Juga untuk Brother GTX pro: Panduan Referensi (13 halaman), Panduan Pengguna (16 halaman), Setup Manual (40 halaman)

ADJUSTING THE HEIGHT OF THE PLATEN
To ensure optimal print quality when a thicker textile is used, you need to adjust the platen's
height in relation to the thickness of the textile.
> Don't forget to adjust the platen lever to position A after printing on thicker material.
> Always tighten knob
> If you have to print above hem and seams, go for UNI-directional printing to keep quality.
"PLATEN TOO LOW" SENSORS
DAILY MAINTENANCE: Nozzle Check
In order to check the status of the nozzles in the print heads, a Nozzle Check must be
performed for White and CMYK. This should be done every day to ensure optimal performance.
How to perform a CMYK Nozzle Check?
Always place the Platen at level A
Menu
6
(3)
after changing position. Do not overtighten screw as it can become stripped.
Normal Detecting
Top Left: Obstacle Sensor
Bottom Left: EDP Sensor
Test Print
Nozzle Check CMYK
To adjust the platen height, loosen the Platen Fixing
Lever
(1)
and move the Platen Height Adjustment
Lever
(2)
to a lower position.
Re-tighten the Platen Fixing Lever
with the new height. Smooth out all wrinkles on fabric
to be printed on. To check if new textile is not detected
by the sensor, push the double arrow platen feed
button and repeat the process if needed. If you need
the platen to go down further than the lowest setting,
remove 1 or 2 collars, loosen the knob
down the platen bearing by 1 or 2 steps. Reattach
everything and tighten the Platen Fixing Lever (1).
Excessive Dropping
Error Code: 2072
If error occurs, press okay. Prior to next
print raise platen to optimal platen height.
(1)
if you are happy
(3)
and push
to print a color Nozzle Check
pattern on a white paper sheet
