Fujitsu fi-5650C Panduan Memulai - Halaman 21

Jelajahi secara online atau unduh pdf Panduan Memulai untuk Pemindai Fujitsu fi-5650C. Fujitsu fi-5650C 40 halaman. Image scanner
Juga untuk Fujitsu fi-5650C: Manual Prosedur Instalasi (7 halaman), Manual Prosedur Instalasi (9 halaman), Prosedur Instalasi (3 halaman), Spesifikasi (2 halaman), Brosur & Spesifikasi (2 halaman), Buku Petunjuk (11 halaman), Petunjuk Penggantian dan Pembersihan Bahan Habis Pakai (19 halaman), Petunjuk Pembersihan (2 halaman), Pembersihan dan Pemeliharaan (39 halaman)
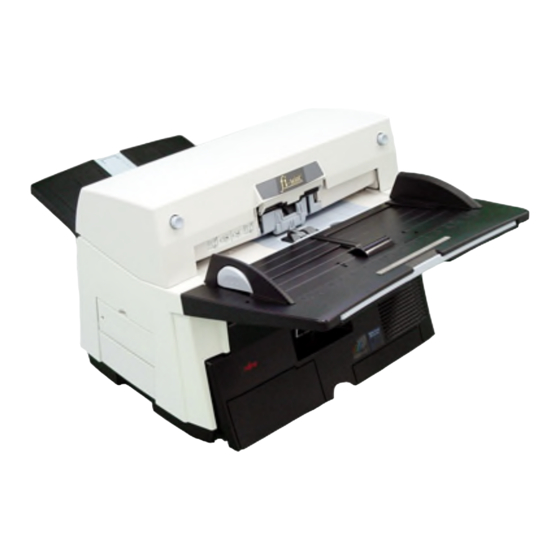
Fujitsu fi-5650C Panduan Memulai
Application:
ScandAll 21 (for TWAIN)
QuickScan Pro (for ISIS)
2.3.1 For Fujitsu Twain 32
Scanner Driver
Preparation
Before installing the application, please
confirm the following items:
Keep the Setup CD-ROM at hand.
Confirm if the scanner is connected to
your PC correctly.
If an older version of the FUJITSU
TWAIN 32 Driver has already been
installed, please uninstall it before
installing the new one.
There are two types of FUJITSU TWAIN
32 Drivers. Depending on the operating
system (OS) of the computer, the most
appropriate driver will be installed
automatically.
For Windows 98, Windows Me,
Windows 2000, Windows XP:
FUJITSU TWAIN32 V9
For Windows 95 and Windows
NT 4.0:
FUJITSU TWAIN32 V8
When using Windows 95 or Windows
NT 4.0: ASPI Manager 4.01 or later is
required (generally comes with SCSI
board products).
For details on connecting the scanner,
refer to "2.1 Installing the scanner" on
HINT
page 2 in this manual.
Uninstall [Scanner Utility for Microsoft
Windows] in [Add/Remove Programs] of
ATTENTION
the control panel.
Installing the FUJITSU
TWAIN32 Scanner Driver
Windows XP screenshots are used in
this section. The windows and opera-
HINT
tions may slightly vary depending on
your OS.
1.
Turn the scanner ON.
2.
Turn on your PC and log on to
Windows.
When using Windows NT 4.0, Windows
2000 or Windows XP, log on as a user
ATTENTION
with "Administrator" privileges (privileges
of the administrator of your PC)
The scanner may be detected
automatically. If so, [Found New
HINT
Hardware Wizard] (or [Add/Remove
Hardware Wizard]) dialog box will
appear. Click [Cancel] to close the
Wizard window.
3.
Insert the Setup CD-ROM into the CD
drive.
The <SETUP DISK START UP SCREEN>
will be displayed.
This screen may not appear when the
"Autoplay" setting of your PC is OFF. In
ATTENTION
this case, run "Install.exe" in this CD-
ROM directly by the "Explorer" or "My
Computer".
2-5