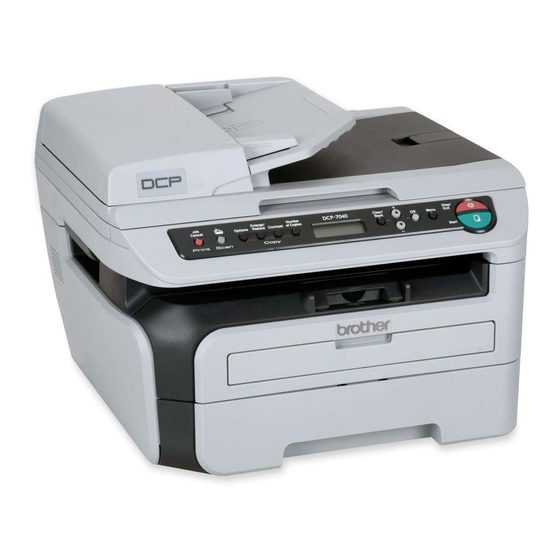
Brother DCP-7045N Panduan Pengaturan Cepat - Halaman 29
Jelajahi secara online atau unduh pdf Panduan Pengaturan Cepat untuk Server Cetak Brother DCP-7045N. Brother DCP-7045N 32 halaman.
Juga untuk Brother DCP-7045N: Panduan Pengaturan Cepat (18 halaman), Panduan Pengaturan Cepat (32 halaman)

Web Based Management
3
(web browser)
The Brother print server is equipped with a web server
that allows you to monitor its status or change some
of its configuration settings, using HTTP (Hyper Text
Transfer Protocol).
Note
• The User Name is 'admin' and the default
password is 'access'. You can use a web browser
to change this password.
• We recommend Microsoft Internet Explorer 6.0
®
(or higher) or Firefox
®
Windows
and Safari™ 1.0 for Macintosh
Please also make sure that JavaScript and
Cookies are always enabled in whichever browser
you use. We recommend you upgrade to Safari™
1.2 or higher to enable JavaScript. To use a web
browser, you will need to know the IP address of
the print server.
1
Open your browser.
2
Type http:// printer_ip_address /into your
browser (Where "printer_ip_address" is the IP
address of the printer or the print server name).
For example http://192.168.1.2/
See Chapter 2 of the Network User's Guide.
®
1.0 (or higher) for
®
.
For Network Users
Restoring the network
4
settings to factory default
To restore all network settings of the internal
Print/Scan server to factory default, please follow the
steps below.
1
Make sure the machine is not in use, then
disconnect all the cables from the machine
(except power cable).
2
Press Menu and
Press OK.
3
Press
or
to select
0.Factory Reset.
Press OK.
4
Press
to select Reset.
5
Press
to select Yes.
6
The machine will restart. Re-connect cables
once this is complete.
Print the Network
5
Configuration List
You can print the Network Configuration List to
confirm the current network settings. To print the
Network Configuration List:
1
Make sure that the front cover is closed and the
power cord is plugged in.
2
Turn on the machine and wait until the machine
is in the Ready state.
3
Press Menu and
1.General Setup.
Press OK.
4
Press
or
to select
7.Network Config.
Press OK.
5
Press Start.
or
to select 4.LAN.
or
to select
27
