Brother DCP-J4110DW Panduan Pengaturan Cepat - Halaman 6

Jelajahi secara online atau unduh pdf Panduan Pengaturan Cepat untuk Server Cetak Brother DCP-J4110DW. Brother DCP-J4110DW 41 halaman. Guia de wi-fi direct
Juga untuk Brother DCP-J4110DW: Manual (36 halaman), Manual (22 halaman), Panduan Pengaturan Cepat (27 halaman), Panduan Keamanan Produk (25 halaman), (Spanyol) Panduan Guia De Web Connect (38 halaman), Manual (Spanyol) (24 halaman)
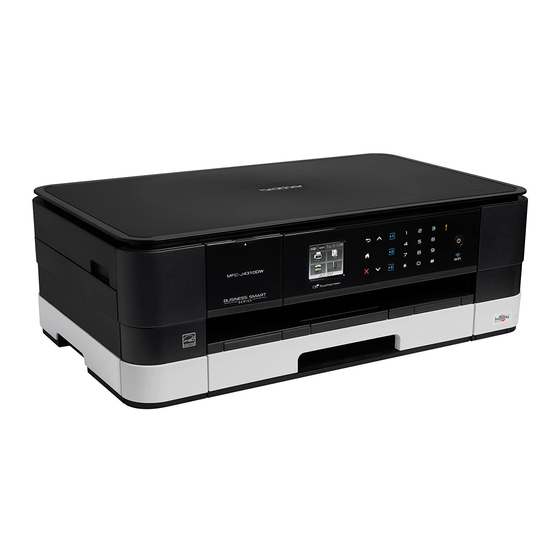
Brother DCP-J4110DW Panduan Pengaturan Cepat
6

Check the print quality

a
When the preparation process has finished, the
Touchscreen shows Set Paper and Press
Start.
Press Start.
b
Check the quality of the four colour blocks on
the sheet. (black/yellow/cyan/magenta)
c
If all lines are clear and visible, press Yes to
finish the quality check and go to the next step.
If you can see missing short lines, press No and
follow the steps on the Touchscreen.
7

Set the date and time

Setting the date and time allows the machine to clean
the print head regularly and maintain optimum print
quality. It also allows the machine to name files
created when using the Scan to Media feature.
a
Press Settings.
b
Press s or t to display Initial Setup.
Press Initial Setup.
c
Press Date & Time.
6
OK
Poor
d
Press Date & Time.
Enter the last two digits of the year on the
Touchscreen, and then press OK.
To move the cursor to the left, press
re-enter the number.
(e.g. Enter 1 2 for 2012.)
e
Repeat for month/day/time in 24-hour format.
f
Press
.
8

Set the Time Zone

You can set the time zone on the machine for your
location.
a
Press Settings.
b
Press s or t to display Initial Setup.
Press Initial Setup.
c
Press Date & Time.
d
Press Time Zone.
e
Enter your time zone.
Press OK.
f
Press
.
and