AEG ARCTIS Panduan Petunjuk Pengoperasian - Halaman 7

Jelajahi secara online atau unduh pdf Panduan Petunjuk Pengoperasian untuk Kulkas AEG ARCTIS. AEG ARCTIS 32 halaman. Built-in fridge-freezers
Juga untuk AEG ARCTIS: Panduan Petunjuk Pengoperasian (28 halaman), Panduan Petunjuk Pengoperasian (40 halaman), Panduan Petunjuk Pengoperasian (28 halaman), Petunjuk Pengoperasian (16 halaman), Panduan Petunjuk Pengoperasian (36 halaman), Panduan Petunjuk Pengoperasian (36 halaman), Panduan Petunjuk Pengoperasian (26 halaman), Petunjuk Pengoperasian & Panduan Pemasangan (28 halaman), Panduan Petunjuk Pengoperasian (36 halaman), Panduan Petunjuk Pengoperasian (27 halaman), Panduan Petunjuk Pengoperasian (34 halaman), Panduan Pengguna (24 halaman), Panduan Petunjuk Instalasi (11 halaman), Panduan Petunjuk Pengoperasian (29 halaman), Panduan Petunjuk Pengoperasian (23 halaman), Panduan Petunjuk Instalasi (25 halaman), Panduan Petunjuk Instalasi (24 halaman)
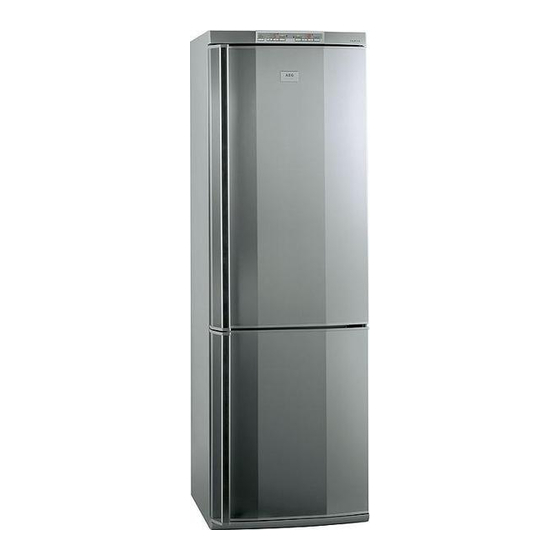
AEG ARCTIS Panduan Petunjuk Pengoperasian

Environmental Information

2
Packaging material
The packaging materials are environmentally friendly and can be recy-
cled. The plastic components are identified by markings, e.g. >PE<,
>PS<, etc. Please dispose of the packaging materials in the appropriate
container at your local waste disposal facilities.
2
Old appliance
The symbol
product may not be treated as household waste. Instead it shall be
handed over to the applicable collection point for the recycling of elec-
trical and electronic equipment. By ensuring this product is disposed of
correctly, you will help prevent potential negative consequences for the
environment and human health, which could otherwise be caused by
inappropriate waste handling of this product. For more detailed infor-
mation about recycling of this product, please contact your local city
office, your household waste disposal service or the shop where you
purchased the product.

Appliance Transport

Two persons are required to transport the appliance. There are two
recessed handles at the front of the base and at the back of the appli-
ance at the top for improved gripping.
0
1. Grip the appliance with the recessed handles positioned as in the draw-
ing, and transport the appliance.
2. In order to push the appliance into its final position, press carefully at
the top of the door and tip the appliance back slightly. The weight is
then transferred to the back wheels and the appliance can be easily
pushed.
818 35 95-01/9
W
on the product or on its packaging indicates that this
7