AEG ARCTIS Panduan Petunjuk Pengoperasian - Halaman 12

Jelajahi secara online atau unduh pdf Panduan Petunjuk Pengoperasian untuk Kulkas AEG ARCTIS. AEG ARCTIS 26 halaman. Built-in fridge-freezers
Juga untuk AEG ARCTIS: Panduan Petunjuk Pengoperasian (32 halaman), Panduan Petunjuk Pengoperasian (28 halaman), Panduan Petunjuk Pengoperasian (40 halaman), Panduan Petunjuk Pengoperasian (28 halaman), Petunjuk Pengoperasian (16 halaman), Panduan Petunjuk Pengoperasian (36 halaman), Panduan Petunjuk Pengoperasian (36 halaman), Petunjuk Pengoperasian & Panduan Pemasangan (28 halaman), Panduan Petunjuk Pengoperasian (36 halaman), Panduan Petunjuk Pengoperasian (27 halaman), Panduan Petunjuk Pengoperasian (34 halaman), Panduan Pengguna (24 halaman), Panduan Petunjuk Instalasi (11 halaman), Panduan Petunjuk Pengoperasian (29 halaman), Panduan Petunjuk Pengoperasian (23 halaman), Panduan Petunjuk Instalasi (25 halaman), Panduan Petunjuk Instalasi (24 halaman)
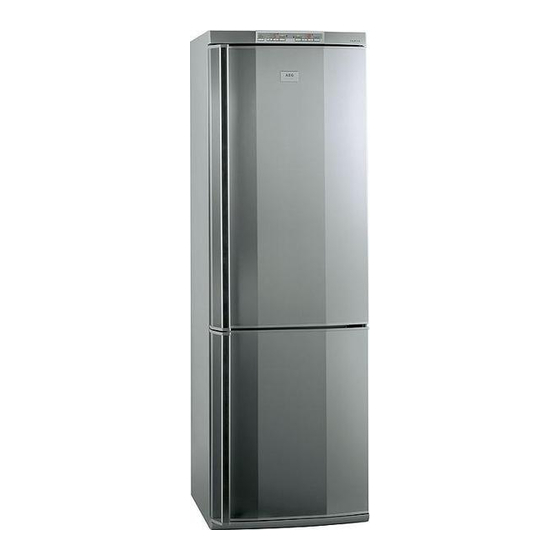
AEG ARCTIS Panduan Petunjuk Pengoperasian

Appliance Alignment

The appliance must have a solid, level footing. Please compensate for
uneven floors with appropriate supports.

Electrical Connection

WARNING – THIS APPLIANCE MUST BE EARTHED
Please ensure that the voltage and current indicated on the rating
plate agree with the voltage of your electricity supply.
220/240 volts (i. e. 220/240V AC).
If your appliance has been equipped with a mains lead with a moulded
on type plug, you must comply with the following regulations:
The plug moulded on to the cord incorporates a fuse. For replacement,
use a 13 amp BS 1362 fuse. Only ASTA approved or certified fuses should
be used. The fuse cover/carrier must be replaced in the event of chang-
ing the fuse. The plug must not be used if the fuse cover/carrier ist
lost. A replacement cover/carrier must be obtained from an electrical
goods retailer. If the socket outlets in your home are not suitable for
the plug fitted to the appliance, then the plug must be cut off and an
appropriate one fitted. When fitting the plug please note the following
points:
Important
The wires in the mains lead are coloured in accordance with the fol-
lowing code:
Green and Yellow
Blue
Brown
As the colours of the wires in the mains lead of this appliance may not
correspond with the coloured markings indentifying the terminals in
your plug, proceed as follows:
1. The wire which is coloured green and yellow must be connected to
the earth terminal in your plug, which is marked with the letter E or
by the earth symbol
2. The wire which is coloured brown must be connected to the live
terminal which is marked with the letter L or coloured red.
3. The wire which is coloured blue must be connected to the neutral
terminal which is marked with the letter N or coloured black.
When wiring the plug, ensure that all strand of wire are securely retai-
ned in each terminal.
Do not forget to tighten the mains lead clamp on the plug.
Earth
Neutral
Live
or coloured green, or green and yellow.
31