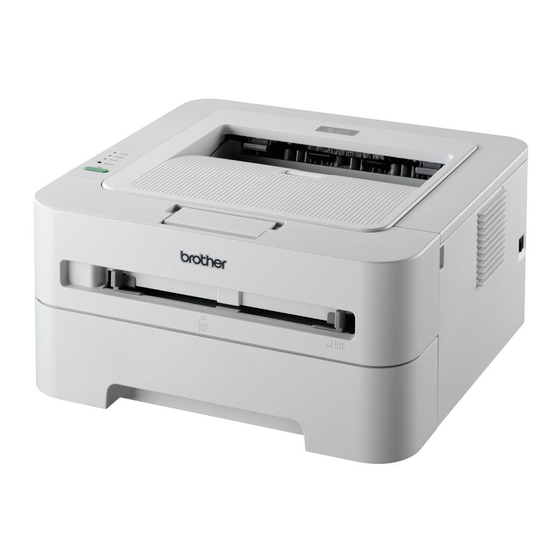
Brother HL-2275DW Panduan Pengaturan Cepat - Halaman 22
Jelajahi secara online atau unduh pdf Panduan Pengaturan Cepat untuk Perangkat lunak Brother HL-2275DW. Brother HL-2275DW 35 halaman. Personal laser printer
Juga untuk Brother HL-2275DW: Spesifikasi (2 halaman)

Wireless Network
Configuration using the automatic wireless (one-push) method
8
Configure the wireless
settings and install the
printer driver
a
Confirm your WLAN access point/router has
the Wi-Fi Protected Setup or AOSS™ symbol
as shown below.
Note
If your WLAN access point/router supports
Wi-Fi Protected Setup (PIN Method) and you
want to configure your machine using the PIN
(Personal Identification Number) Method, See
Using the PIN Method of Wi-Fi Protected Setup in
the Network User's Guide.
b
Place the Brother machine within range of your
Wi-Fi Protected Setup or AOSS™ access
point/router. The range may differ depending
on your environment. Refer to the instructions
provided with your access point/router.
c
Turn on your Macintosh. Put the installation
CD-ROM into your CD-ROM drive.
d
Double-click the Start Here OSX icon. Follow
the on-screen instructions.
e
Click Wireless Network Connection and click
Next.
22
f
Choose Yes, my Access Point supports
WPS or AOSS™ and I want to use them, and
then click Next.
g
Press the wireless setup button located at the
back of the machine for less than 2 seconds as
shown in the illustration below.
Note
• Use a pointy object such as a ballpoint pen to
press the button.
• Do not press the button for 3 seconds or more,
since the printer will change to the PIN Method
of the Wi-Fi Protected Setup mode.
h
This feature will automatically detect which
mode (Wi-Fi Protected Setup or AOSS™) your
access point/router uses to configure your
machine for 2 minutes.
i
Push the Wi-Fi Protected Setup or AOSS™
button on your WLAN access point/router. See
the user's guide for your WLAN access
point/router for instructions.
Macintosh
