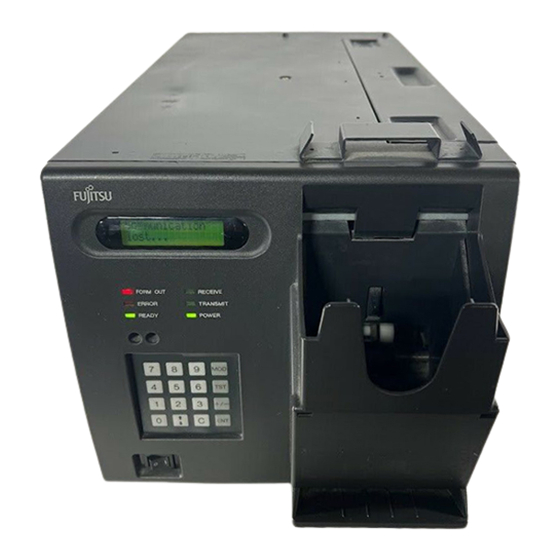
Fujitsu 9811 ATB Panduan Operator - Halaman 18
Jelajahi secara online atau unduh pdf Panduan Operator untuk Printer Fujitsu 9811 ATB. Fujitsu 9811 ATB 22 halaman. Printers

7.Adjusting the volume of the buzzer and adjusting the contrast on the LCD display.
These are adjusted using the controls recessed as shown.
If necessary, please adjust them with a small screwdriver.
The LCD Contrast is adjusted with the right control.
This may be done any time after power on.
The Beep sound is adjusted with left control.
Please perform the "buzzer test" and adjustment
using the diagnostic function, Test No.=05, PAN No.=04.
8. Installing the printer firmware
The firmware is pre-installed in factory. It is not necessary to install it during the installation of the printer.
If the version is revised, please install the new firmware using the following procedure;
1. Turn the power switch OFF .
2. Put the installation floppy disk into the disk drive and close the door.
3. Turn the power switch ON.
BIOS will be started and several messages will appeare on the display.
Please
wait for the beep
4. Push the key " ON / OFF" on the keypad when you hear the beep. The key is on top right.
This message will be
Displayed.
Note: If you fail to push the "ON/OFF" key after the beep, the firmware will progress to " ready to accept ---"
In this case, please try again after turning the power switch off.
5. Push the key " 1 " after the above message is displayed.
Note: At first Flash ROM is erased, and then the program is written to the erased Flash ROM..
Message will switch to "Erasing flash ROM" and then " Installing ----". Please wait approximately 10 seconds.
Please wait for the Message
Note: The BIOS starts automatically without any operator intervention after finishing writing the Flash ROM.
6. Turn the power switch OFF when you find out the message
7. Remove the Floppy disk and close the door.
8. Turn the power switch O N. Installed firmware will be started.
After finishing the boot, the display will show "ready to accept " or "communication lost" if printer is not connected to
the server.
9. Please
check the firmware version
Push " 4 " in online mode to display the Firmware version on the LCD as in the following example.
of buzzer.
1. Flash ROM install
2. Boot from FDD
" ----- PD03, PD05
displayed on the LCD to ensure it is same as the one of the label of Floppy disk.
A VC.3L00 9811
F V10L2001 Dx.xx
17
Beep sound
etc". This means the BIOS is started.
" ----- PD03, PD05 etc".
Installing the Printer
Contrast on LCD display
