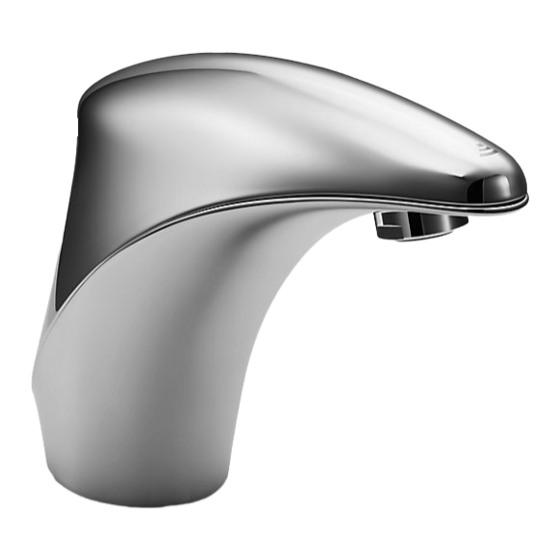
Kohler Elosis K-18055T-B-CP Panduan Petunjuk Instalasi - Halaman 6
Jelajahi secara online atau unduh pdf Panduan Petunjuk Instalasi untuk Perlengkapan Kamar Mandi Kohler Elosis K-18055T-B-CP. Kohler Elosis K-18055T-B-CP 12 halaman. Sensor faucet

注意:
1、请勿将进水口与出水口混淆;
2、进水口处滤网组件不能漏装;
3、出水口处平垫不要漏装。
三 安装电池组件
1. 取出电池盒组件, 旋松螺钉(20),
按电池盒盖(21)上的正负极标示装
入4节5号电池,紧锁电池盒盖的螺
钉。
注意:电池极性不能装反,新旧电
池不能混用。
2. 将所有导线根据对应的颜色连接
上,再将电池盒组件放在控制组件
内空旷处,合理调整位置,将合盖
根据安装方向用螺钉紧固在控制盒
上。
对于交流龙头,除对应的导线连接
到交流电源盒输出端上,其余安装
方式一致。
四 如何安装排水组件
旋下排水器盘片(22),在其底
面沿周围涂上一圈密封油灰。把
排水本体(23)由底下插入面盆。
把排水器盘片(22)旋入排水本体
(23)。从下方用手拧紧锁紧螺母
(24),去除多余的油灰。
注意: 在锁紧螺母(24)拧紧后,
不可再调整排水本体的位置,否
则将会破坏油灰密封。
把尾管(25)接上存水弯(26),尾管
需插入存水弯25mm到55mm之
间。
6
14
15
混水(Mixer): 18055T-B-CP, 18075T-B-CP,
18076T-B-CP
单冷(Cold):18057T-B-CP, 18077T-B-CP,
18078T-B-CP
Apply plumbers putty
涂油灰
25
26
16
Note:
1.Do not mix water inlet with water outlet.
2.No missing screen assembly on water
17
inlet.
3.No missing flat washer on water outlet.
18
19
3. Install battery assembly
1. Take battery box out, loose screws
(20), insert 4 pieces of AA battery
per +/- pole indication (21) on
battery box cover. Fasten battery
box cover screws.
Note: no reversed battery
20
polarity. Do not mix new and used
21
batteries together.
2. Connect power cords with
corresponding color wires, then place
battery box assembly to empty space
within control assembly then fasten
control box by screws based on
installation direction. For AC faucet,
except corresponding cords connect to
AC/DC transformer output, other
installation methods are identical.
4.
How to Install the Drain
Screw the drain flange (22) off from
22
drain assembly. Apply plumbers putty
around the bottom circle. Insert drain
body (23) into lavatory from the
underside.
23
Screw the drain flange (22) into drain
body (23). Tighten the locknut (24)
manually from the underside.
Note: Remove excessive putty. Note:
after tighten locknut (24), do not adjust
24
drain body position, otherwise putty seal
might be damaged.
Connect the tailpiece(25) to the
trap(26). The tailpiece should extend
25mm to 55mm into the trap.
1248536-T01-C
