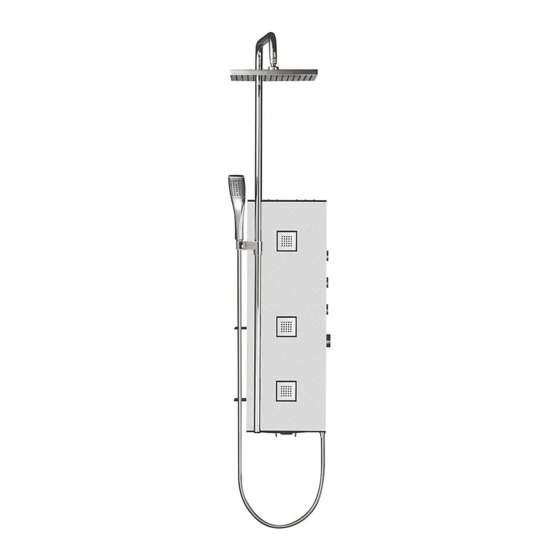
Kohler Waterlite tower 3866 Petunjuk Instalasi - Halaman 3
Jelajahi secara online atau unduh pdf Petunjuk Instalasi untuk Perlengkapan Kamar Mandi Kohler Waterlite tower 3866. Kohler Waterlite tower 3866 4 halaman. Shower panel

How to Clean the Nozzles
Any debris or mineral build-up may cause the flow stream to become
distorted or reduce the flowrate. To remove the debris or mineral
build-up, run water through the watertile, press or rub the fingers back
and forth across the rubber nozzles.
The handspray & shower head can be cleaned up by the same way.
If need to clean watertiles further. Grasp the faceplate(39) with the
clips on the scraper(21) to take it off. Run water through the
watertiles, firmly press or rub your finger back and forth across the
rubber nozzles.
After cleaning, install the faceplate with the notch of faceplate being
situated over the bulge on the supporter of nozzles.
CLEANING INSTRUCTION
All Finishes: Clean the finish with mild soap and warm water. Wipe entire surface completely dry with
clean soft cloth. Many cleaners may contain chemicals, such as ammonia, chlorine, toilet cleaner etc.
which could adversely affect the finish and are not recommended for cleaning.
Do not use abrasive cleaners or solvents on Kohler faucets and fittings.
1075723-2A-D
21
Clip
Fig.23
39
Fig.24
Bulge
Fig.25
6
Mount the wall fixture bracket(12) by anchors(8), washers(9), screws
(11). Make sure the bracket level and secure. Refer to Fig.8.
Apply tape or thread sealant to threads of G3/4" fittings(6). Install the
inlet elbows(13) onto the fittings. Outlets of the elbows facing
downwards.
Turn on the main water supply. Run water for about one minute to
remove any debris.
Support the lower base(16) of the shower panel onto wall fixture
bracket(12), referring to Fig.12. Hang the hook(14) which attached to
upper base(15) under the washer(9), referring to Fig.10.
Connect the nut(40) to inlet elbows(13). Connect the hoses(18) with
washers(17) to the nut. Note: The hose connecting to valve connector
with HOT mark should attach to hot water supply.
Push back the shower panel. Unlock the hook. Carefully lift the
shower panel. Riding the slot of the upper base onto the screw(8)
from the back of the washer(9). At the same time, insert the lower
base into the behind of the wall fixture bracket, referring to Fig.14.
Position the shower panel. Tighten the butterfly nut(7) to secure the
shower panel.
Install shower bracket(19) onto tube assy(20), referring to Fig.14.
Reinstall the upper cover and the lower cover.
Note: The lower cover is with magnet. The magnet is used to hold
the scraper(21).
1075723-2A-D
9 11
12
8
Fig.7
Fig.8
6
13
Fig.9
9
15
14
Fig.10
12
16
Fig.12
Fig.11
13
40
17
18
Fig.13
7
8
9
20
19
Fig.14
21
Magnet
Fig.15
3
