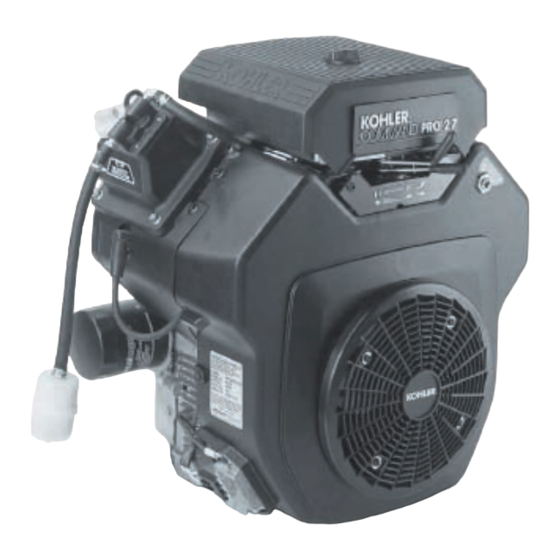
Kohler Command PRO CH26 Panduan Pemilik - Halaman 6
Jelajahi secara online atau unduh pdf Panduan Pemilik untuk Mesin Kohler Command PRO CH26. Kohler Command PRO CH26 14 halaman. Command series
Juga untuk Kohler Command PRO CH26: Panduan Pemilik (21 halaman), Panduan Pemilik (21 halaman), Panduan Pemilik (21 halaman), Panduan Pemilik (8 halaman), Panduan Pemilik (21 halaman)

Проверка уровня масла
Важность проверки и поддержания
надлежащего
уровня
переоценить. Проверять масло ПЕРЕД КАЖДЫМ
ИСПОЛЬЗОВАНИЕМ следующим образом:
1. Убедитесь в том, что двигатель остановлен, уровнен
и остыл, таким образом, что масло успевает стечь в
отстойник.
2. Удалить из двигателя грязь, отходы и т.д., очистить
зону вокруг масляного щупа, прежде чем вынимать
его.
3. Вынуть масляный щуп; вытереть масло. Вставить
масляный щуп в трубку и протолкнуть его вниз.
4. Вынуть масляный щуп и проверить уровень масла.
Уровень масла не должен превышать отметку "F" на
масляном щупе.См. Рисунок 7.
Рисунок 7. Масляный щуп уровня масла.
5. Если уровень низкий, долить масло соответствующего
типа, до отметки "F" на масляном щупе. (См. Тип масла
на стр.5). Всегда проверяйте уровень с помощью
масляного щупа, прежде чем добавлять масло.
ПРИМЕЧАНИЕ: Для предотвращения износа или
поломки двигателя всегда поддерживать надлежащий
уровень масла в картере. Никогда не запускать
двигатель, если уровень масла ниже отметки "L" или
выше отметки "F" на масляном щупе.
Oil Sentry™
Некоторые
двигатели
выключателем давления Oil Sentry™. Если давление
масла опускается ниже приемлемого уровня, Oil
Sentry™ либо выключает двигатель, либо включают
предупредительный
применения.
ПРИМЕЧАНИЕ: Проверяйте уровень масла ПЕРЕД
КАЖДЫМ ИСПОЛЬЗОВАНИЕМ,
сохраняется на отметке "F"
на
масляном
щупе.
оснащенные Oil Sentry™
РУС
масла
в
картере
Рабочий
диапазон
оснащены
опционным
сигнал,
в
зависимости
который должен
Это
включает
двигатели,
The importance of checking and maintaining the proper oil
нельзя
level in the crankcase cannot be overemphasized. Check
oil BEFORE EACH USE as follows:
1. Make sure the engine is stopped, level, and is cool so
the oil has had time to drain into the sump.
2. To keep dirt, debris, etc., out of the engine, clean the
area around the dipstick before removing it.
3. Remove the dipstick; wipe oil off. Reinsert the dipstick
into the tube and press all the way down.
4. Remove the dipstick and check the oil level.
The oil level should be up to, but not over, the "F" mark on
the dipstick. See Figure 7.
Отметка "F"
Figure 7. Oil Level Dipstick.
5. If the level is low, add oil of the proper type, up to the "F"
mark on the dipstick. (Refer to Oil Type on page 5.) Always
check the level with the dipstick before adding more oil.
NOTE: To prevent extensive engine wear or damage,
always maintain the proper oil level in the crankcase. Ne-
ver operate the engine with the oil level below the "L" mark
or over the "F" mark on the dipstick.
Oil Sentry™
Some engines are equipped with an optional Oil Sentry™
oil pressure switch. If the oil pressure decreases below an
acceptable level, the Oil Sentry™ will either shut off the
engine or activate a warning signal, depending on the ap-
от
plication.
NOTE: Make sure the oil level is checked BEFORE EACH
USE and is maintained up to the "F" mark on the dipstick.
This includes engines equipped with Oil Sentry™.
6
GB
Check Oil Level
