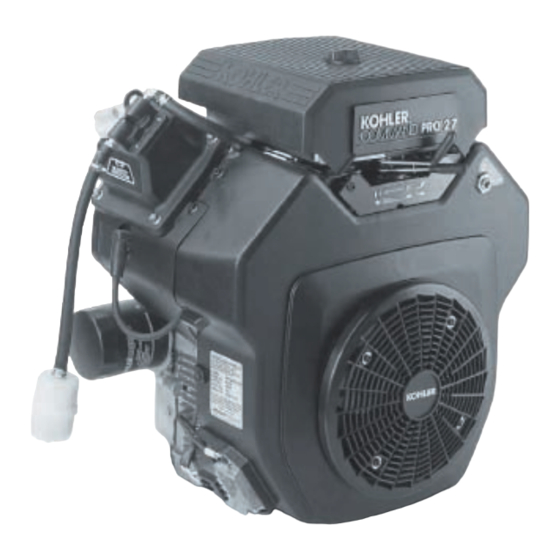
Kohler Command PRO CH750 Panduan Pemilik - Halaman 11
Jelajahi secara online atau unduh pdf Panduan Pemilik untuk Mesin Kohler Command PRO CH750. Kohler Command PRO CH750 14 halaman. Vertical/horizontal crankshaft
Juga untuk Kohler Command PRO CH750: Panduan Pemilik (21 halaman), Panduan Pemilik (21 halaman), Panduan Pemilik (8 halaman), Panduan Pemilik (24 halaman), Panduan Pemilik (10 halaman), Panduan Pemilik (8 halaman)

Усиленный воздухоочиститель
Для обслуживания
Каждые 250 часов работы (чаще в очень пыльных
или грязных условиях) заменять бумажный элемент и
проверять внутренний элемент. Выполните следующие
шаги.
1. Отцепить два зажима и удалить торцевую заглушку
с кожуха воздухоочистителя.
2. Вынуть элемент воздухоочистителя из кожуха.
См. Рисунок 12.
Рисунок 12. Удаление элементов.
3. После того, как основной элемент удален, проверьте
состояние внутреннего элемента. Следует его заменить
при загрязнении, как правило,
при замене основного элемента.
Чтобы грязь не попала в двигатель, очистить зону
вокруг базы внутреннего элемента, прежде чем
вынимать его.
4. Не стирать бумажный элемент и не использовать
сжатый воздух, так как это может повредить элемент.
Заменять грязный, изогнутый или поврежденный
элемент на фирменный элемент Kohler . Обращайтесь
с новыми элементами осторожно; не использовать
их, если уплотнительные поверхности погнуты или
повреждены.
5. Проверьте все части на предмет износа, трещин или
повреждений.
Замените поврежденные компоненты.
6. Установить новый внутренний элемент Kohler Part
No.25 083 04-S, затем наружный элемент Kohler
Part No. 25 083 01-S. Вставить каждый из них полностью
в кожух воздухоочистителя.
7. Установить на место наконечник так, чтобы клапан
пылеэжектора находился внизу и был закреплен двумя
зажимами. См. Рисунок 13.
РУС
Главный
Элемент
Heavy-Duty Air Cleaner
To Service
Every 250 hours of operation (more often under extremely
dusty or dirty conditions), replace the paper element and
check inner element. Follow these steps.
1. Unhook the two retaining clips and remove the end cap
from the air cleaner housing.
2. Pull the air cleaner element out of the housing. See
Figure 12.
Внутренний
Элемент
Figure 12. Removing Elements.
3. After the main element is removed, check the condition
of the inner element. It should be replaced whenever it
appears dirty, typically every other time the main element
is replaced.
Clean the area around the base of the inner element befo-
re removing it, so dirt does not get into the engine.
4. Do not wash the paper element and inner element or
use pressurized air, this will damage the elements. Re-
place dirty, bent or damaged elements with new genuine
Kohler elements as required. Handle new elements care-
fully; do not use if the sealing surfaces are bent or dama-
ged.
5. Check all parts for wear, cracks, or damage. Replace
any damaged components.
6. Install the new inner element, Kohler Part No. 25 083
04-S followed by the outer element, Kohler Part No. 25
083 01-S. Slide each fully into place in the air cleaner hou-
sing.
7. Reinstall the end cap so the dust ejector valve is down
and secure with the two retaining clips. See Figure 13.
11
GB
