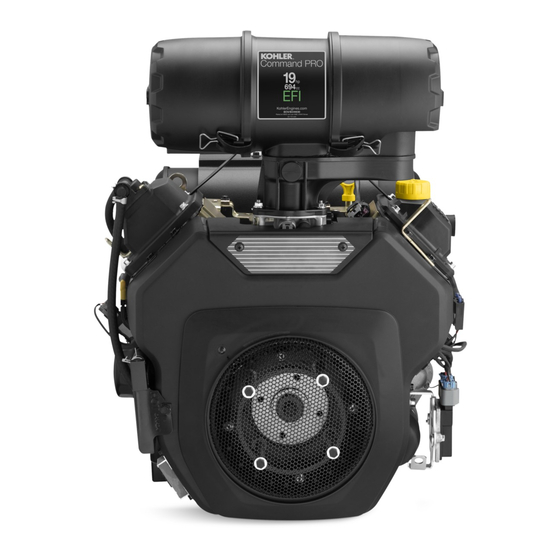
Kohler Command PRO ECH749 Panduan Pemilik - Halaman 6
Jelajahi secara online atau unduh pdf Panduan Pemilik untuk Mesin Kohler Command PRO ECH749. Kohler Command PRO ECH749 17 halaman. Horizontal crankshaft
Juga untuk Kohler Command PRO ECH749: Panduan Pemilik (8 halaman)

Gasoline/Alcohol blends
Gasohol (up to 10% ethyl alcohol, 90% unleaded
gasoline by volume) is approved as a fuel for Kohler
engines. Other gasoline/alcohol blends including E20
and E85 are not to be used and not approved. Any
failures resulting from use of these fuels will not be
warranted.
Gasoline/Ether blends
Methyl Tertiary Butyl Ether (MTBE) and unleaded
gasoline blends (up to a maximum of 15% MTBE by
volume) are approved as a fuel for Kohler engines.
Other gasoline/ether blends are not approved.
Operating Instructions
Also read the instructions of equipment this engine powers.
Check Oil Level
1
2
See Figures
,
, and
The importance of checking and maintaining
the proper oil level in the crankcase cannot be
overemphasized.
Check oil BEFORE EACH USE as follows:
1.
Make sure the engine is stopped, level, and cool
so the oil has had time to drain into the sump.
2.
Clean the area around the dipstick (D) to keep
dirt and debris out of the engine. See Figure 1.
3.
Remove the dipstick (D); wipe off oil.
4.
Reinsert the dipstick (D). Push or screw on the
dipstick in all the way.
5.
Remove dipstick (D) again and check oil level. Oil
should be up to, but not over F or FULL mark (B)
on dipstick. See Figure 2.
6.
If oil level is low, add the correct type of oil up to
the F or FULL mark (B) on dipstick. Remove the
fill cap (A) or the dipstick (C) to fill the crankcase
with new oil of the proper type. Recheck oil level
before adding more oil. Always check the oil level
with the dipstick before adding more. See Figures
2 and 3.
7.
Reinstall the oil fill cap and dipstick securely.
NOTE:
To prevent extensive engine wear or damage,
always maintain proper oil level in crankcase.
Never operate engine with oil level below the
L or LOW mark (C), or over the F or FULL
mark (B) on dipstick. See Figure 2.
Check Cooling Areas
1
See Figure
To ensure proper cooling, make sure the fixed
guard (G), oil cooler (some models) (H), and other
external surfaces of the engine are kept clean at all
times.
6
3
Check Air Cleaner
1
See Figure
This engine is equipped with heavy-duty (shown)
air cleaner, flat style air cleaner, or special air cleaner
supplied by the equipment manufacturer.
Check the air cleaner (A) daily or before starting the
engine for a buildup of dirt and debris. Keep the area
in and around the air cleaner clean. Also check for
loose or damaged components. Replace all worn or
damaged air cleaner components.
NOTE:
Operating engine with loose or damaged air
cleaner components could allow unfiltered
air into engine, causing premature wear and
failure.
Pre-Start Checklist
1.
Check oil level; if low add oil. Do not overfill.
NOTE:
Engines are shipped without oil. Do not start
engine with low or no oil. This will cause
damage to the engine and will not be covered
under warranty.
2.
Check fuel level; if low add fuel. Do not overfill.
3.
Check cooling areas, air intake areas, and external
surfaces of engine. Make sure they are clean and
unobstructed.
4.
Check that the air cleaner components and all
shrouds, equipment covers, and guards are in
place and securely fastened.
5.
Check that any clutches or transmissions are
disengaged or placed in neutral. This is especially
important on equipment with hydrostatic drive.
The shift lever must be in neutral to prevent
resistance which could keep the engine from
starting.
Starting
Carbon Monoxide can cause severe
nausea, fainting or death.
Avoid inhaling exhaust fumes, and
never run the engine in a closed
building or confined area.
Engine exhaust gases contain poisonous carbon monoxide.
Carbon monoxide is odorless, colorless, and can cause death
if inhaled. Avoid inhaling exhaust fumes, and never run the
engine in a closed building or confined area.
1.
Place the throttle control midway between the
SLOW and FAST positions.
2.
Start the engine by activating the key switch.
Release the switch as soon as the engine starts.
WARNING
