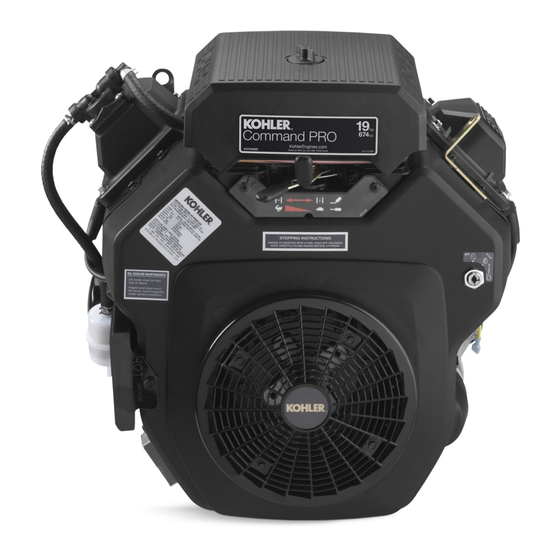
Kohler command pro PCH740 Panduan Pemilik - Halaman 6
Jelajahi secara online atau unduh pdf Panduan Pemilik untuk Mesin Kohler command pro PCH740. Kohler command pro PCH740 12 halaman. Propane electronic fuel injection efi
Juga untuk Kohler command pro PCH740: Panduan Pemilik (12 halaman)

Oil Recommendations
Synthetic oil is recommended for use in
propane fueled engines. Non-synthetic oil must
be low ash* rated oil. Oils (including synthetic)
must meet API (American Petroleum Institute)
service class SG, SH, SJ, or SL. Select
viscosity based on air temperature at time of
operation as shown in table below.
*Low ash is defi ned as less than 1% sulfated
ash.
5W-30
°F -20
0
20
°C -30
-20
-10
Check Oil Level
NOTE: To prevent extensive engine wear or
damage, never run engine with oil level
below or above operating range
indicator on dipstick.
Ensure engine is cool. Clean oil fi ll/dipstick
areas of any debris.
1. Remove dipstick; wipe oil off .
a. Press-in cap: reinsert dipstick into tube;
press completely down.
b. Thread-on cap: reinsert dipstick into
tube; rest cap on tube, do not thread cap
onto tube.
2. Remove dipstick; check oil level. Level
should be at top of indicator on dipstick.
3. If oil is low on indicator, add oil up to top of
indicator mark.
4. Reinstall and secure dipstick.
6
10W-30
SAE 30
32
40
50
60
80
0
10
20
30
or
KohlerEngines.com
Change Oil and Filter
Change oil while engine is warm.
1. Clean area around oil fi ll cap/dipstick and
drain plug. Remove drain plug and oil fi ll cap/
dipstick. Allow oil to drain completely.
2. Clean area around oil fi lter. Place a container
under fi lter to catch any oil and remove fi lter.
Wipe off mounting surface. Reinstall drain
plug. Torque to 10 ft. lb. (13.6 N·m).
3. Place new fi lter in shallow pan with open end
up. Fill with new oil until oil reaches bottom of
threads. Allow 2 minutes for oil to be
absorbed by fi lter material.
4. Apply a thin fi lm of clean oil to rubber gasket
on new fi lter.
5. Refer to instructions on oil fi lter for proper
100
installation.
40
6. Fill crankcase with new oil. Level should be
at top of indicator on dipstick.
7. Reinstall oil fi ll cap/dipstick and tighten
securely.
8. Start engine; check for oil leaks. Stop engine;
correct leaks. Recheck oil level.
9. Dispose of used oil and fi lter in accordance
with local ordinances.
Oil Sentry
™
This switch is designed to prevent engine
from starting in a low oil or no oil condition. Oil
Sentry
may not shut down a running engine
™
before damage occurs. In some applications
this switch may activate a warning signal. Read
your equipment manuals for more information.
(if equipped)
24 590 52 Rev. --
