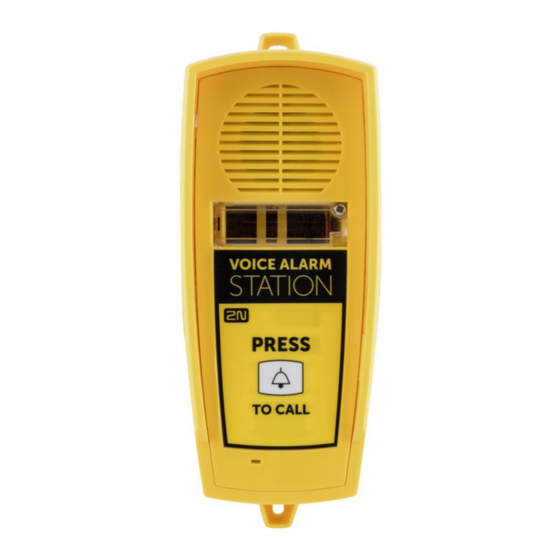
2N Telekomunikace Lift1 Panduan Instalasi - Halaman 4
Jelajahi secara online atau unduh pdf Panduan Instalasi untuk Sistem Keamanan 2N Telekomunikace Lift1. 2N Telekomunikace Lift1 12 halaman. Voice alarm station

Mounting
®
Remove the connectors on the ALARM inversion and programming jumpers on 2N
®
Lift1/ 2N
SingleTalk
. Use the 4 screws to loosen and move downwards the audio
unit. Disconnect the speaker and (external) microphone.
Connect the cable connectors included in the delivery to the microphone and speaker
®
®
connectors on
2N
Lift1
/ 2N
SingleTalk
(the microphone and speaker connectors
have different sizes and cannot be interchanged due to the audio unit cover
pictograms). Replace the audio unit cover, move it upwards and tighten the 4 screws.
Put the 6-pin connector on the ALARM inversion and programming jumpers (see the
figure below).
