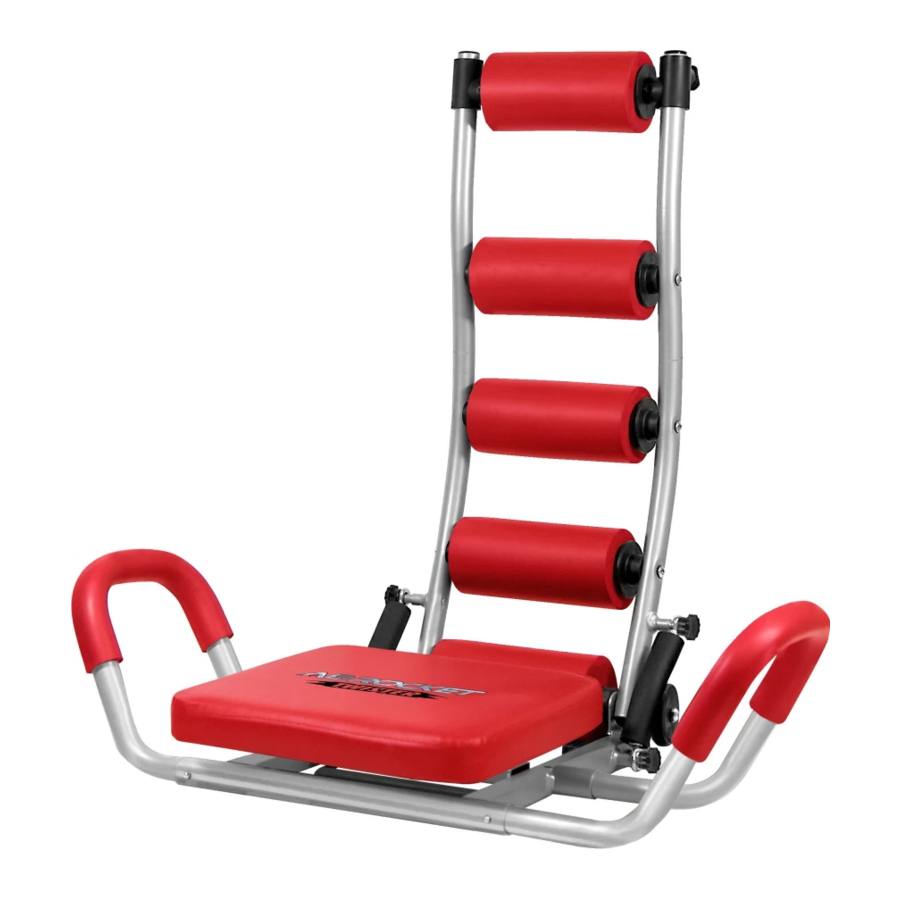
AB Rocket Twister Petunjuk Perakitan - Halaman 2
Jelajahi secara online atau unduh pdf Petunjuk Perakitan untuk Peralatan Kebugaran AB Rocket Twister. AB Rocket Twister 2 halaman.

FIRST
NOTE: AB ROCKET TWISTER™ unit needs to be assembled prior to use.
1. See Illustration 1A. Locate the Padded Back Support piece. Insert it
between the Metal Bars. Align with the openings.
2. See Illustration 1A. Attach Padded Back Support piece to the Metal
Bars with screwdriver (included).
3. See Illustration 1B. Slide the Adjustable Head Support over both Poles.
Tighten the Adjustment Knobs. Refer to Neck Support Adjustment instructions
below.
SECOND
1. To attach the Resistance Springs,
choose the proper resistance:
Yellow
Yellow
Spring-Lowest Resistance
Blue
Spring-Middle Resistance
Red
Spring-Highest Resistance
2. See Illustration 2. To attach the Resistance Springs, place both ends of
the Resistance Spring over the Metal Bolts. Secure it with the Screw Top
by rotating it clockwise. Make sure the Screw Top is tightened all the way.
Push down on the Resistance Spring while tightening the Screw Top.
Repeat for second Resistance Spring.
3. To remove the Resistance Spring, just unscrew the Screw Top by rotating
it counterclockwise. Repeat for the other spring.
THIRD
See Illustration 3. Pull out Support Bracket from underneath the seat. This
will give you extra support when using the AB ROCKET TWISTER™.
FOURTH
1. See Illustration 4. Insert Right or Left Grip Handles into the base of the unit.
The Right Grip Handle has an additional oval opening.
2. Press in the Spring Pin and push the Grip Handle in. Repeat for the other
Grip Handle.
3. To remove the handle, press and hold the Spring Pin as you are pulling the
Grip Handle.
FIFTH
1. See Illustration 5A. Insert Padded Seat into the base of the unit.
2. See Illustration 5B. Insert the Pin through the opening in the seat and oval opening of
the Right Grip Handle. Push the Pin in all the way. This will secure the seat in place.
If the exercise requires the seat to swivel, See Illustration 6 A+B
NECK SUPPORT ADJUSTMENT
NOTE: WHEN EXERCISING, REMEMBER TO REST YOUR HEAD ON THE HEAD SUPPORT.
You can adjust the Head Support to your comfort. Just loosen both Adjustment Knobs
by rotating them counterclockwise. Move the Neck Support up or down and align with
openings. Tighten the Adjustment Knobs by rotating them clockwise.
LOW RESISTANCE
MEDIUM RESISTANCE
HIGH RESISTANCE
See Illustration 1B
1A
2
Metal
Bolt
Screw
Top
Screw
Top
Metal
Bolt
Pin
Right
Grip
Handle
5A
Adjustable
Head Support
Padded
Back Support
4
Spring
Pin
Inserting Pin on side of Right Grip Handle
5B
1B
3
Support
Bracket
Left
Grip
Handle
