Aqua Medic Spot Control Panduan Pengoperasian - Halaman 6
Jelajahi secara online atau unduh pdf Panduan Pengoperasian untuk Unit Kontrol Aqua Medic Spot Control. Aqua Medic Spot Control 19 halaman.

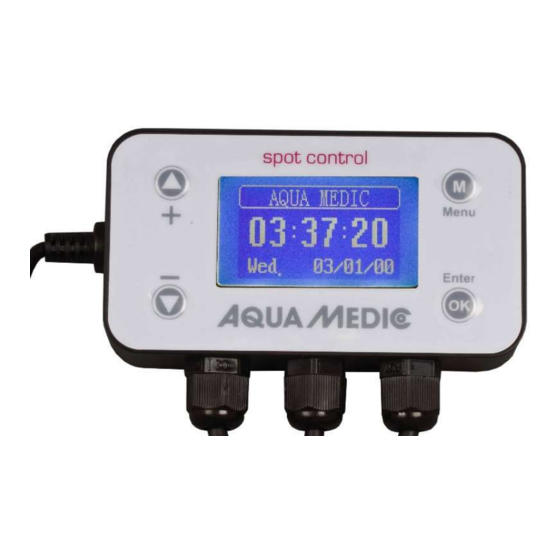
Buttons:
M:
menu
OK:
confirm
up
+
down
-
1. The display appears as soon as the controller is supplied with power via the power supply unit. After pressing
the M button, also the display illuminates. After a few seconds without further keystroke the display lights
turn off.
2. Press "M" (menu), then three setting options appear:
Date and Time: for setting the real time and date
Manual:
for manual adjustment
Setting Mode:
an automatic program according to the user's needs can be adjusted
3. Press the "M"-button (menu) again to choose "Date and Time", "Manual" and "Setting Mode". Press "OK" to
confirm the selected version chosen by the +/- buttons.
4. First of all, set the real time and date. Use "+" or "-" to move cursor to choose "Date and Time", press "OK"
to enter the setting menu. Then use "+" or "-" to adjust the real date and time and press "OK" to confirm.
Press "M" to exit the menu.
5. Following settings are possible in the menu "Manual" (the manual mode has to be turned off):
Light 1
Channel 1
Channel 2
Light 2
Channel 3
Channel 4
Light 3
Channel 5
Channel 6
000%:
You can set the brightness from 000% to 100%.
ON/OFF:
Channel on or off.
Press "+" or "–" to adjust the values and confirm by "OK". Then, the cursor will go to the next value. Press "M"
to exit the menu.
After any changes in the setting mode always return to the start-up display with the time. The changes will be
effected with some delay.
6. Setting Mode: Choose the "Setting Mode" and press "OK" to confirm. The manual mode has to be turned off.
First of all, you reach the menu for selecting the channels "Set Line 1", etc. Use the +/- buttons to select the
requested channel and confirm with "OK". In the next menu select the requested switching point with +/- and
confirm with "OK".
There are five switching points per channel.
Adjustable are:
00:00 to 00:00 for time period setting
000% to 000% for adjustment of the brightness
Use the +/- buttons to adjust the values, by pressing "OK" you reach the next value, by pressing "M" you can
exit the switching point.
For example: If you set 6:00 to 6:30, 0% to 100%, then the light will light up from 6:00 and in 30 minutes will
go up to 100% brightness. This means that the brightness will increase about 3.33% every minute. At 6:30,
100% are reached.
If you set 6:00 to 8:00, 1% to 100% (or 100% to 1%), the brightness will increase or decrease by 0.83% every
minute.
6
