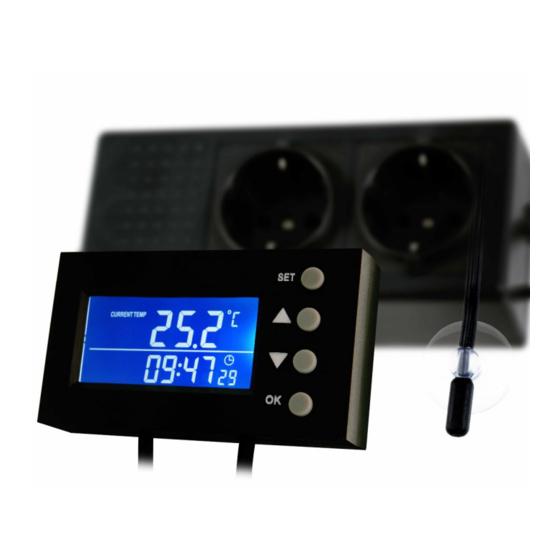
Aqua Medic T controller twin Panduan Pengoperasian - Halaman 4
Jelajahi secara online atau unduh pdf Panduan Pengoperasian untuk Unit Kontrol Aqua Medic T controller twin. Aqua Medic T controller twin 13 halaman. Digital temperature monitor and controller for controlling heating and cooling units
Juga untuk Aqua Medic T controller twin: Panduan Pengoperasian (9 halaman)

Digital temperature monitor and controller for controlling heating and cooling units
With the purchase of this digital measuring and regulating unit, you have selected a top quality product. It has
been specifically designed for aquaristic purposes. With this unit, you can continuously measure and control the
temperature of the water in your aquarium.
1. Included in shipment
The Aqua Medic T controller twin is generally delivered with a saltwater-resistant temperature sensor. The unit
is ready for connection. The units to be controlled (heaters, fans, coolers) are connected to the double socket.
2. Description
Socket No. 1 is provided for controlling fans or coolers. The maximum output is approx. 1,200 watts. Due to the
high starting current, cooling units may be connected only to a power consumption of 460 watts. Heaters of any
type (i. e. glass or metal aquarium heaters, low voltage heating cables with transformer, warm water supply by
a magnetic valve) can be connected to socket No. 2. The maximum output again is approx. 1,200 watts.
3. Installation
-
Connect to 220 - 240 V power source.
-
Place the temperature sensor into the aquarium and fix it with an Aqua Medic electrode holder. After a few
minutes, the actual aquarium water temperature is indicated.
Pict. 1: T controller twin
1. Socket – cooling
2. Socket – heating
3. SAVE key
4. Arrow keys to adjust the parameter
5. SET key
6. Temperature sensor incl. sucker
4. Adjustion
To program the controller, press the "SET" key. The °C symbol begins to flash and the setpoint can be set to
the requested value using the arrow keys. If no key is pressed for five seconds, the display returns to the
measuring mode. Holding the respective arrow key pressed for a few seconds, the display starts to run faster.
After pressing the "SET" key again, the display goes to the setting for the control precision. Use the arrow keys
to set the desired value in steps of 0.1 °C. This is done both for heating and for cooling. By pressing the "SET"
key again, the unit jumps back again to the alarm value.
4
Operation Manual ENG
