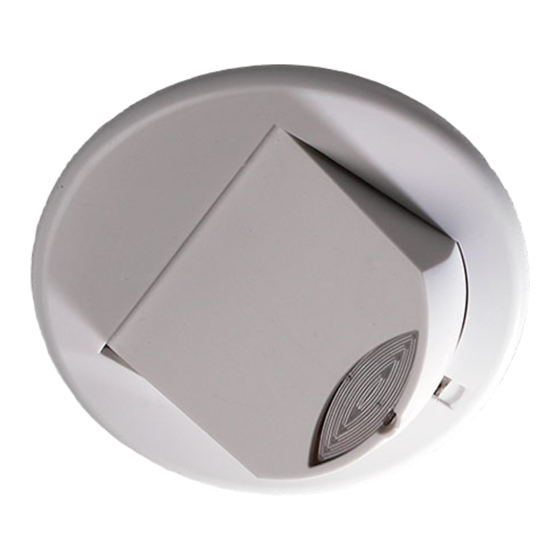
CP Electronics MWS3A-AT-PRM Panduan Instalasi - Halaman 9
Jelajahi secara online atau unduh pdf Panduan Instalasi untuk Sensor Keamanan CP Electronics MWS3A-AT-PRM. CP Electronics MWS3A-AT-PRM 20 halaman. Rd ceiling microwave presence detector-switching
Juga untuk CP Electronics MWS3A-AT-PRM: Panduan Produk (17 halaman)

Head locking | Kopf verriegeln | Bloqueo de cabezal | Bloqueio de cabeça | Blocage de la tête |
Blocco della testa | Kopbevestiging
1
2
Default Settings | Werkseinstellung | Parámetros por defecto | Configurações por omissão |
Paramètres par défaut | Impostazioni predefinite | Standaard instellingen
EN
Time out: 10 minutes.
LUX on level: 9
LUX off level: 9
Sensitivity: 5
Detection: Presence
Adjustments can be made using the
optional UNLCDHS handsets.
DE
Nachlaufzeit: 10 Minuten
LUX Einschaltschwelle: 9
Lux Ausschaltschwelle: 9
Empfindlichkeit: 5
Betriebsart: Automatikbetrieb
Einstellungsänderungen können mit den
Ferbedienungen UNLCD HS vorgenommen
werden.
ES
Tiempo retardo hasta apagado: 10
minutos
Nivel Lux Encendido: 9
Nivel Lux Apagado: 9
Sensibilidad: 5
Detección: Presencia
Los ajustes se pueden hacer usando los
mandos UNLCDHS
EN
Remove metal
locking clip from rear of unit.
DE
Entfernen Sie die
Verriegelungs-Klemme aus
Metall von der Rückseite der
Einheit.
ES
Retire el clip de
bloqueo metálico de la parte
trasera de la unidad.
EN
Adjust head to required position. Push clip
into position shown below to lock head.
To remove clip, lever out with a small screwdriver.
DE
Bringen Sie den Kopf in die gewünschte
Position. Schieben Sie die Klemme in die
nachstehend gezeigte Position, um den Kopf zu
verriegeln.
Schrauben Sie die Klemme mithilfe eines
kleinen Schraubendrehers ab.
ES
Ajuste el cabezal a la posición deseada.
Empuje el clip en su posición (mostrada a
continuación) para bloquear el cabezal.
Para retirar el clip, haga palanca sobre él con un
destornillador pequeño.
PT
Ajustar a cabeça na posição requerida.
Premir o clipe na posição ilustrada abaixo para
bloquear a cabeça.
Para retirar o clipe, puxar com uma pequena
chave de fendas.
PT
Tempo limite: 10 minutos.
LUX on nível: 9
LUX off : 9
Sensibilidade: 5
Detecção: Presença
Os ajustes podem ser efectuados usando os
telecomandos opcionais UNLCDHS.
FR
Temporisation: 10 minutes
Seuil de luminosité pour
activation PIR: 9
Seuil de luminosité pour
désactivation PIR: 9
Sensibilité: 5
Détection: Présence
Toutes modifications peuvent être faites
en utilisant les outils de configuration
UNLCDHS.
PT
Retirar o clipe de
bloqueio de metal da traseira
da unidade.
FR
Retirer le clip
métallique de blocage à
l'arrière de l'unité.
FR
Ajuster la tête à la position souhaitée.
Enfoncer le clip à la position indiquée ci-dessous
pour bloquer la tête.
Pour retirer le clip, il faut l'extraire au moyen d'un
petit tournevis.
IT
Regolare la testa nella posizione
richiesta. Premere la clip nella posizione
mostrata di seguito per bloccare la testa.
Per rimuovere la clip, fare leva con un cacciavite
piccolo.
NL
Stel de kop in de gewenste positie.
Duw de veer op zijn plaats zoals hieronder is
aangegeven om de kop te bevestigen.
Gebruik een kleine schroevendraaier om de
veer te verwijderen.
IT
Le regolazioni possono anche essere
effettuate utilizzando l'opzionale
telecomando UNLCDHS.
NL
Uitschakeltijd: 10 minuten
Aanpassingen kunnen worden uitgevoerd
met de optionele UNLCDHS-handset.
использованием пультов UNLCDHS
IT
Rimuovere la clip di
blocco in metallo dal retro
dell'unità.
NL
Verwijder de metalen
montageveer van de
achterzijde.
Time out: 10 minuti.
Livello accensione LUX: 9
Livello spegnimento LUX: 9
Sensibilità : 5
Rilevamento : Presenza
Lichtdrempel aan niveau: 9
Lichtdrempel uit niveau: 9
Gevoeligheid: 5
Detectie: aanwezigheid
9
