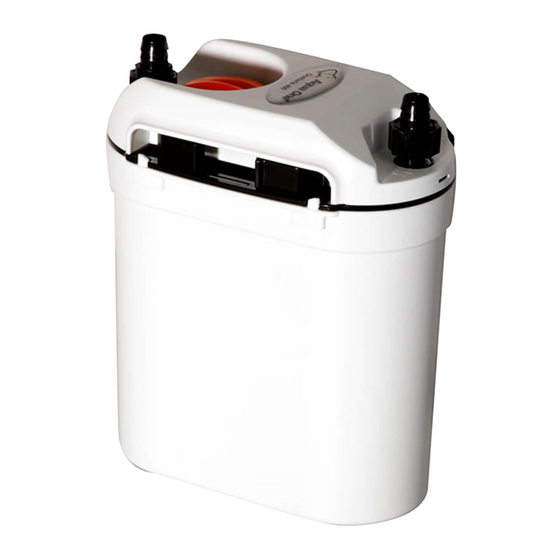
Aqua One Ocellaris 400 Petunjuk Manual - Halaman 5
Jelajahi secara online atau unduh pdf Petunjuk Manual untuk Produk Perawatan Hewan Peliharaan Aqua One Ocellaris 400. Aqua One Ocellaris 400 13 halaman. Aquarium canister filter

Set Up Instructions
Filling with Media
1. Open the filter unit by releasing the 2 clips located
on either side of the filter, then lift the head unit off the
canister body.
2. Remove the filter media from the canister. Rinse the
filter media in tap water to remove excess dust and
place it back into the filter according to the media set
up illustrated on page 4.
Checking the function
3. Prior to installing the head unit, connect it to the power
supply. You should be able to see the impeller spin. If
there are any problems refer to the Trouble Shooting
Section. Disconnect from the power supply after a few
seconds to avoid damaging the powerhead.
Replacing the head unit
4. Line the filter outlet pipe up with the feeder pipe on
the base of the head unit.
5. Press down gently, the bottom of the head unit should
be flush with the canister body. Be careful not to jam
the power cord in between the canister and the head
unit. Do not force it together! If it feels tight do not apply
any pressure to close it. Simply, remove the head unit
and try again.
6. Latch and secure the clips. The filter unit is now
ready to be installed.
Installing the tap connectors and
hose pipes
7. Two hosetails (IN and OUT) are located at the top of
the filter unit. You will need two pieces of hose. Screw
the collar on the taps all the way in clockwise.
8. Now push one end of the hose over the hose tail
and thread. Push it on as far as possible. Then turn the
collar anti clockwise to lock in the hose. Repeat for the
other hose.
9. Place the canister in the desired position and feed
the hose through the cabinet or stand.
Assembling the inlet and outlet
pipes
Refer to diagram on page 4.
OUTLET
10. Connect the Spray Bar (6) to the Outlet Elbow (5).
11. Using the supplied suction cups, attach the spray
bar to the back or side of the aquarium with the hosetail
sitting above the rear glass of the aquarium.
INLET
12. Attach the Inlet Strainer (4) and Extension Pipe (3)
to the Inlet Elbow (2).
13. Using the supplied suction cups, attach the intake
pipe to the back of the aquarium with the hosetail sitting
above the rear glass of the aquarium.
14. Pull the hose from the inlet side of the filter up next
to the inlet hosetail and line up.
15. Measure a good 5cm more that what you need past
the bottom of the hosetail.
16. Cut the hose using a sharp blade, try to cut it straight
and be careful not to cut yourself.
17. Screw the collar on the pipe all the way in clockwise.
Force the hose over the inlet hosetail. Then turn the
collar anti clockwise to lock in the hose. Tighten, hand
tighten only, no tools are required.
18. Repeat for the outlet pipe. You are now ready to
start the filter.
5
