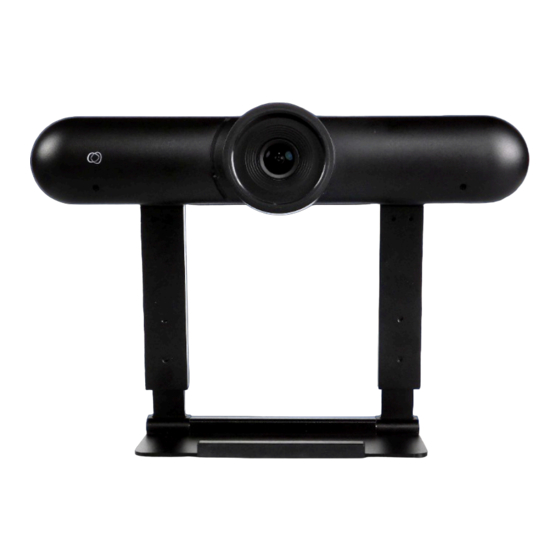
Avonic CM22 Panduan Cepat - Halaman 2
Jelajahi secara online atau unduh pdf Panduan Cepat untuk Kamera Digital Avonic CM22. Avonic CM22 2 halaman.

QUICK GUIDE
1. Unbox
Be gentle with the CM22, hold the camera only at its
base.
2. USB connection
1. Connect the camera with the USB3.0 cable to a
computer. Use a USB3.0 port for optimal quality.
2. The camera is USB powered, no separate power
supply is needed.
3. The built-in microphone picks up audio within 3 meter
(10ft) and embeds this signal onto the USB output.
3. HDMI connection
1. Connect the camera to a display using a third party
HDMI cable.
2. Connect the included USB cable to the USB port to
power the camera. You can use a third-party USB
device to power the camera.
3. Please note that the microphone signal is not
embedded onto the HDMI output.
4. On Screen Display
1. Insert 2 LR03 AAA batteries in the remote control.
2. Open an Video application app.
3. Press "menu" on the remote control to open the
"On Screen Display".
5. Configure the camera
1. Does your room have changing light conditions?
Choose auto-white balance, otherwise set the
white-balance to fixed.
2. Test which anti-flicker gives the best results.
6. Control multiple cameras with one remote
Do you have multiple cameras and do you want to
control them with 1 remote?
1. Default IR ID is 1. Give every camera a unique IR ID.
2. Turn on only camera 2 and press [*] → [#] → [F2].
3. Turn on only camera 3 and press [*] → [#] → [F3]. etc.
7. Complete Manual
Download the manual at avonic.com.
CE Marking
This product has a CE marking on the productlabel.
This is placed on the bottom of the camera.
Contact
This Quick Guide is written with great care. If you have
any questions, remarks or suggestions, do not hesitate
to contact us. Our support team is there to assist you in
getting the best result. You can reach us as follows:
• Telephone: +31 (0) 15 711 2712
• Email:
Let's create a story!
