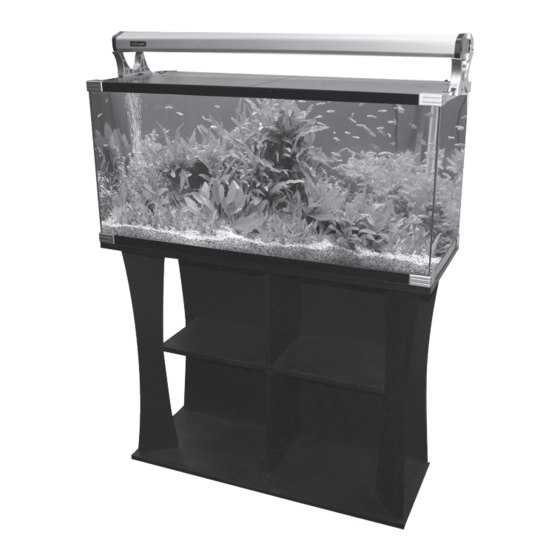
Aqua One Horizon 182 Manual - Halaman 6
Jelajahi secara online atau unduh pdf Manual untuk Akuarium Aqua One Horizon 182. Aqua One Horizon 182 8 halaman.

GB
Light Unit Installation
Hints & Tips
No more than 8 hours of light a day and definitely no
natural light. Longer light times will accelerate algae
growth in the aquarium and has no benefits to plants
or fish.
We recommend replacing the fluorescent tube once
every twelve months based on the light being used for
an 8 hour period daily as the spectrum of light changes
and intensity drops over time.
Step By Step Guide
1. Remove the light unit from the plastic wrapping.
2. Slide the protective cover out from the unit and
remove the protective film from both sides of it.
3. Slide the protective cover back into the light unit.
4. Align the holes on the plastic bracket on the light unit
(1) and the tank bracket (3). The tank bracket should
be on the outside of the light unit.
5. Screw the plastic bolt (2) into the brackets to connect
the units. Do not overtighten as this may damage some
of the plastic parts.
6. Place the light unit on the sides of the aquarium,
ensuring the tank brackets sit firmly over the glass.
7. Tighten the fastening bolts (4) to secure the light unit
on the aquarium.
8. Plug the light unit in and turn the switch "on" to ensure
the light works.
Refer to diagram on page 7 for parts identification.
Changing The Tubes
1. Ensure your hands are dry. Turn off the light and
remove the plug from the receptacle.
2. Remove the light from the aquarium.
3. Slide the protective cover out.
4. With both hands, turn the tube either clockwise or
anti clockwise to remove.
5. Insert the new tube into the tombstones and again,
turn either clockwise to lock the tube in place.
6. Plug the light back into the receptacle and turn it
on to ensure it works before mounting it back on the
aquarium.
7. Place the old tube in the used pack from the new one
and dispose of sensibly or mark as used and store it
where children cannot touch it.
Changing The Starter
1. Ensure your hands are dry. Turn off the light and
remove the plug from the receptacle.
2. Remove the light from the aquarium.
3. Remove the 2 screws from the endcap labelled
"starter end".
4. Remove the endcap.
5. turn the starter anti clockwise to secure in place.
6. Insert a new starter and turn it clockwise to secure
in place.
7. Place the endcap onto the light unit and secure using
the 2 screws.
8. Plug the light unit back into the receptacle and turn
it on to ensure it works before mounting it back on the
aquarium.
Troubleshooting
LIGHT DOES NOT WORK
1. Ensure the plug is inserted correctly and the switch
is in
the "on" position.
2. The starter or fl uorescent tube may require
replacing.
6
