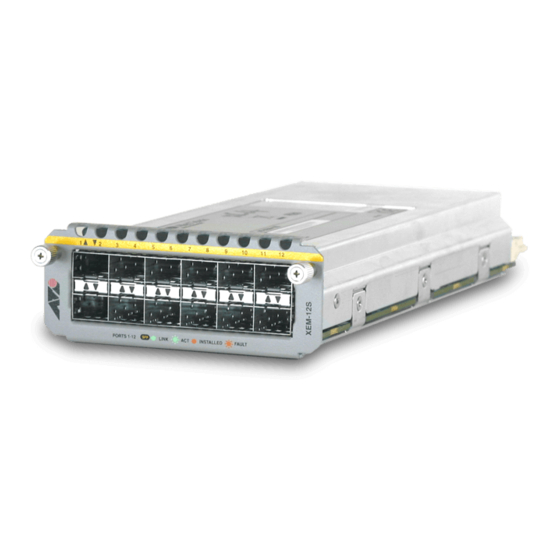
Allied Telesis XEM-12S Panduan Instalasi - Halaman 10
Jelajahi secara online atau unduh pdf Panduan Instalasi untuk Beralih Allied Telesis XEM-12S. Allied Telesis XEM-12S 11 halaman. Expansion module
Juga untuk Allied Telesis XEM-12S: Panduan Instalasi (17 halaman)

x900-24X Series Switch Expansion Modules
Installation Procedure
Before you begin:
■
Unpack the expansion module.
In an anti-static environment, remove the expansion module from its packing
material. Be sure to observe ESD precautions.
Caution Failure to observe proper anti-static procedures may damage the
unit. If you are unsure about correct procedures, contact your authorised
Allied Telesis distributor or reseller.
■
Verify the package contents if you have not already done so.
See
"Package Contents" on page
contact your authorised distributor or reseller.
■
Read the safety information for the switch.
Safety information is available in the Installation and Safety Guide that is on
the CD-ROM for the x900-24X Series switch. Or you can download this
document from www.alliedtelesis.com/support/software.
■
Gather necessary tools.
You may need a Phillips #2 screwdriver to adjust the retaining screws on a
blank faceplate.
Procedure
If you want to swap expansion modules, first save your configuration file as
necessary (with create config and set config commands).
1.
If connected, disconnect the switch from its redundant power supply.
2.
Disconnect the switch from its AC or DC power supply.
3.
Loosen the thumbscrews to the faceplate or existing expansion module,
and remove it.
Keep the faceplate for future use. If you remove the expansion module,
cover the bay with the faceplate to prevent dust and debris from entering it
and to maintain proper airflow
4.
Carefully slide the module into the empty bay until you feel it engage the
rear plug.
10
4. If any items are damaged or missing,
.
