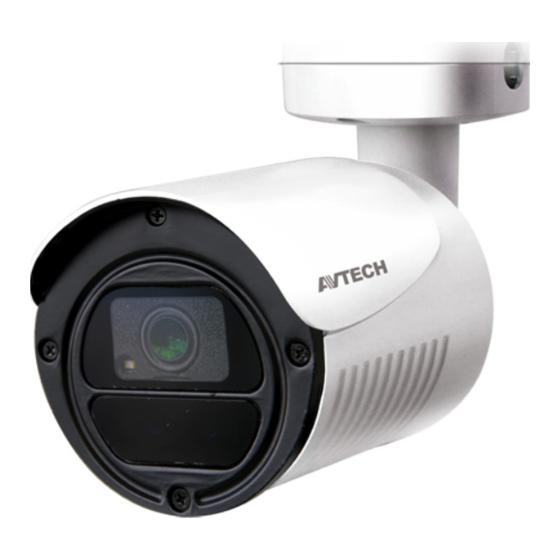
Avtech DGC1105A Panduan Pengguna - Halaman 5
Jelajahi secara online atau unduh pdf Panduan Pengguna untuk Kamera Keamanan Avtech DGC1105A. Avtech DGC1105A 8 halaman. Ir bullet camera

FREQUENTLY-USED CAMERA PARAMETERS
Note: The functions described below are available only when the camera is connected to our brand's HD CCTV
DVR.
Click
on the bottom left side of the channel, and you'll see the icons below:
Day & Night
Noise Reduction
Optics
Color
Choose SENSOR to switch the mode automatically, choose
DAY to always keep the mode to the day mode, and choose
MODE
NIGHT to always keep the mode to the night mode.
Set the sensitivity for the day & night mode from day to night.
DAY TO NIGHT
The higher the value, the more sensitivity the mode is switched
when the light condition is changed.
Set the sensitivity for the day & night mode from night to day.
NIGHT TO DAY
The higher the value, the more sensitivity the mode is switched
when the light condition is changed.
Set the delay time in second after which the day and night switch
is made.
This is used for the environment where the light condition may
change suddenly and usually last for a short time, for example,
D&N SWITCH
the entrance of a parking lot. It may cause the day & night mode
DELAY TIME
switching constantly and damage the camera.
With this function, the camera will delay the mode switch at night
since the light change is temporary and unnecessary to pay
attention.
Set the level of Auto Gain Control to detect and enhance the
image signals when the light condition is poor. The options are:
HIGH, MIDDLE and LOW.
AGC
The higher the value, the stronger the signals will be enhanced,
and the more noise the image will get.
Choose AUTO to automatically adjust the shutter speed for
FIXED SHUTTER
exposure based on the current environment, or choose a
specific shutter speed manually.
This function is used to synchronize the shutter time to the
fluorescent light to suppress image flickering.
FLICKLESS
The options are: AUTO, 50HZ and 60HZ.
Click the current value to manually adjust the brightness of
BRIGHTNESS
the image. The higher the value, the brighter the image.
Click the current value to manually adjust the contrast of the
CONTRAST
image. The higher the value, the higher the contrast ratio.
Click the current value to manually adjust the saturation of the
SATURATION
image. The higher the value, the more saturated the image.
HUE
Click the current value to manually adjust the hue of the image.
Set the level of sharpness to enhance the clarity of image detail
by adjusting the aperture and sharpening the edges.
SHARPNESS
The more the value, the sharper the image will be.
Automatically adjust the white balance based on the
surrounding environment.
AWB
The options are: AUTO / INDOOR / OUTDOOR /
MANUAL.
