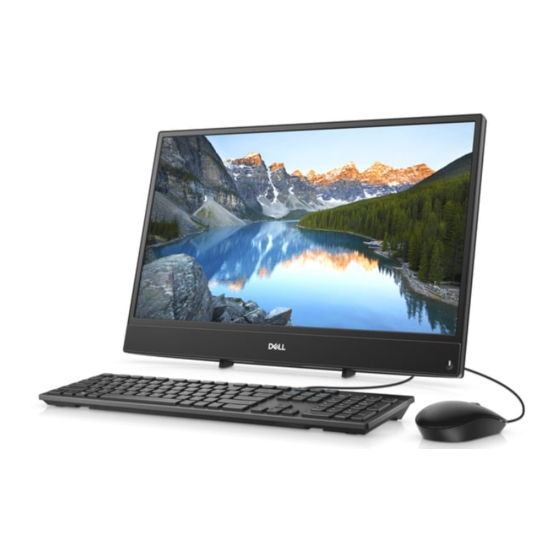
Dell Inspiron 22-3277 All-in-One Pengaturan dan Spesifikasi - Halaman 11
Jelajahi secara online atau unduh pdf Pengaturan dan Spesifikasi untuk Desktop Dell Inspiron 22-3277 All-in-One. Dell Inspiron 22-3277 All-in-One 20 halaman.

Back panel
1. Power-adapter port
Connect a power adapter to provide power to your computer.
2. HDMI-out port
Connect to a TV or another HDMI-in enabled device. Provides video and audio output.
3. Network port
Connect an Ethernet (RJ45) cable from a router or a broadband modem for network or Internet access.
4. USB 2.0 port with Power on/Wake-up support
Connect peripherals such as external storage devices and printers. Provides data transfer speeds up to 480 Mbps. Wake
from standby with the keyboard or mouse connected to this port.
5. USB 3.1 Gen 1 port with Power on/Wake-up support
Connect peripherals such as external storage devices and printers. Provides data transfer speeds up to 5 Gbps. Wake the
computer from standby with the keyboard or mouse connected to this port.
6. USB 3.1 Gen 1 port
Connect peripherals such as external storage devices and printers. Provides data transfer speeds up to 5 Gbps.
7. USB 3.1 Gen 1 port with PowerShare
Connect peripherals such as external storage devices and printers.
Provides data transfer speeds up to 5 Gbps. PowerShare enables you to charge your USB devices even when your computer
is turned off.
NOTE:
If your computer is turned off or in hibernate state, you must connect the power adapter to charge your devices
using the PowerShare port. You must enable this feature in the BIOS setup program.
NOTE:
Certain USB devices may not charge when the computer is turned off or in sleep state. In such cases, turn on
the computer to charge the device.
8. Headset port
Connect headphones or a headset (headphone and microphone combo).
Bottom
1. Service Tag label
The Service Tag is a unique alphanumeric identifier that enables Dell service technicians to identify the hardware
components in your computer and access warranty information.
2. Display Built-in Self Test button
Views
11
