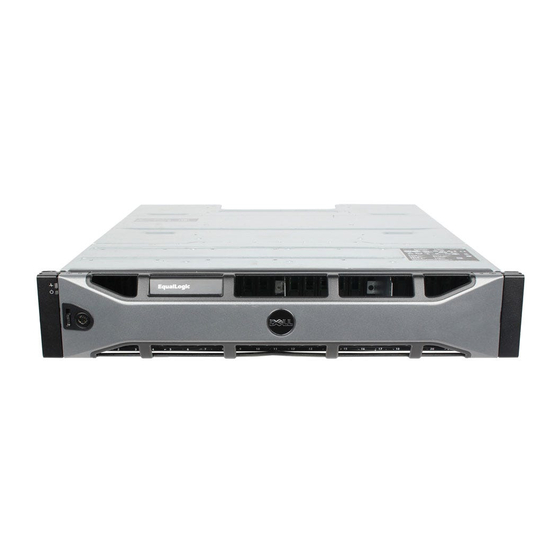
Dell EqualLogic PS Series Panduan Pemilik Perangkat Keras - Halaman 35
Jelajahi secara online atau unduh pdf Panduan Pemilik Perangkat Keras untuk Penyimpanan Dell EqualLogic PS Series. Dell EqualLogic PS Series 48 halaman. Storage arrays
Juga untuk Dell EqualLogic PS Series: Menyiapkan (2 halaman), Panduan Pemilik Perangkat Keras (50 halaman), Pemeliharaan Perangkat Keras (46 halaman)

PS6210 Hardware Owner's Manual
Insert the New Battery
1. Attach the new battery unit to the connector, and gently wiggle and push the connector in place to
seat it. You do not need to depress the retention clip to insert the connector. When the connector is
fully seated, you should hear the retention clip 'click' into place.
2. Place the new battery unit in the chassis by reversing the procedure from step 5 for removing the
battery.
You might need to slightly reposition the cable inside the control module to get it out of the way
and ensure easy reassembly. Make sure that the cable is not pinched between the battery cover and
the control module chassis.
3. Reinsert the screw and tighten gently.
4. Reinsert the control module and reconnect the cables.
Return or Dispose of the Old Battery
The manner in which to dispose of rechargeable batteries varies by country. Make sure that you
dispose of your old battery in a way that conforms to your country's regulations. Alternately, you can
return the old battery back to Dell for proper disposal. See
Advanced Networking Options
In addition to connecting all the Ethernet ports (of the same type) on both control modules to network
switches, you can also optionally connect the Management port to a separate network switch.
Configuring a management port enables you to separate management traffic (creating and managing the
group, members, volumes, replication, and so on) from the iSCSI data traffic (I/O between applications
and volumes, and between replication partners).
Configuring the Management Port
Configuring the 10/100Mbps management port involves hardware steps and software steps. The
management port is restricted to group management traffic only; it will not carry iSCSI I/O.
Configuring this port is considered an advanced configuration, available if your environment requires
this level of security.
Hardware Steps
1. Make sure your network environment can support a dedicated management network, with a subnet
that is separate from the subnets for iSCSI traffic.
2. On both control modules, connect the port labeled MANAGEMENT to the management network.
The location of the management port is shown in
3 Maintaining Control Modules
Shipping Requirements on page
Figure
27.
27.
29
