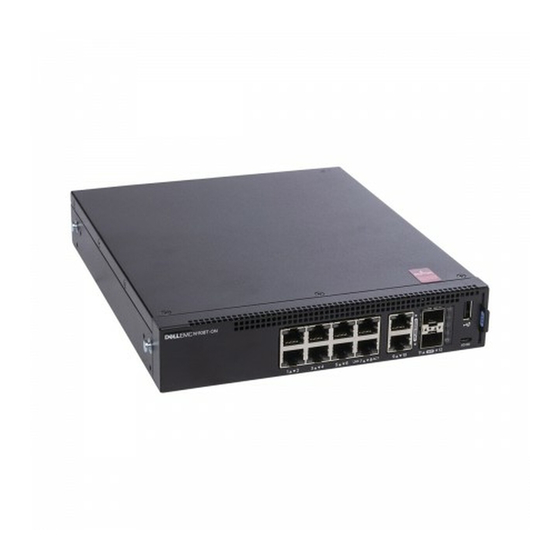
Dell N1108T-ON Panduan Memulai - Halaman 10
Jelajahi secara online atau unduh pdf Panduan Memulai untuk Beralih Dell N1108T-ON. Dell N1108T-ON 27 halaman.

- 1. Getting Started Guide
- 2. N1100-On Series Hardware Overview
- 3. N1124T-On/N1124P-On/N1148T-On/ N1148P-On Installation
- 4. Starting and Configuring the N1100-On Series Switch
- 5. Connecting an N1100-On Series Switch to a Terminal
- 6. Performing the N1100-On Series Initial Configuration
- 7. Enabling Remote Management
- 8. Initial Configuration Procedure
2 Insert the supplied bolts into the rack-mounting holes and tighten with a
screwdriver.
3 Repeat the process for the rack-mounting bracket on the other side of the
switch.
4 Insert the switch into the 48.26 cm (19 inch) rack, ensuring that the rack-
mounting holes on the bracket line up with the mounting holes in the
rack.
5 Secure the bracket to the rack with either the rack bolts or cage nuts and
cage-nut bolts with washers (depending on the kind of rack you have).
Fasten the bolts on the bottom before fastening the bolts on the top.
CAUTION:
rack.
NOTE:
Make sure that the ventilation holes are not obstructed.
Wall Installation for N1108T-ON and N1108P-ON
To mount the switch on a wall:
1 Make sure that the mounting location meets the following requirements:
•
The surface of the wall must be capable of supporting the switch.
•
Allow at least two inches (5.1 cm) space on the sides for proper
ventilation and five inches (12.7 cm) at the back for power cable
clearance.
•
The location must be ventilated to prevent heat buildup.
2 Place the supplied wall-mounting bracket on one side of the switch,
verifying that the mounting holes on the switch line up to the mounting
holes on the wall-mounting bracket.
10
Getting Started Guide
Make sure that the supplied rack bolts fit the pre-threaded holes in the
