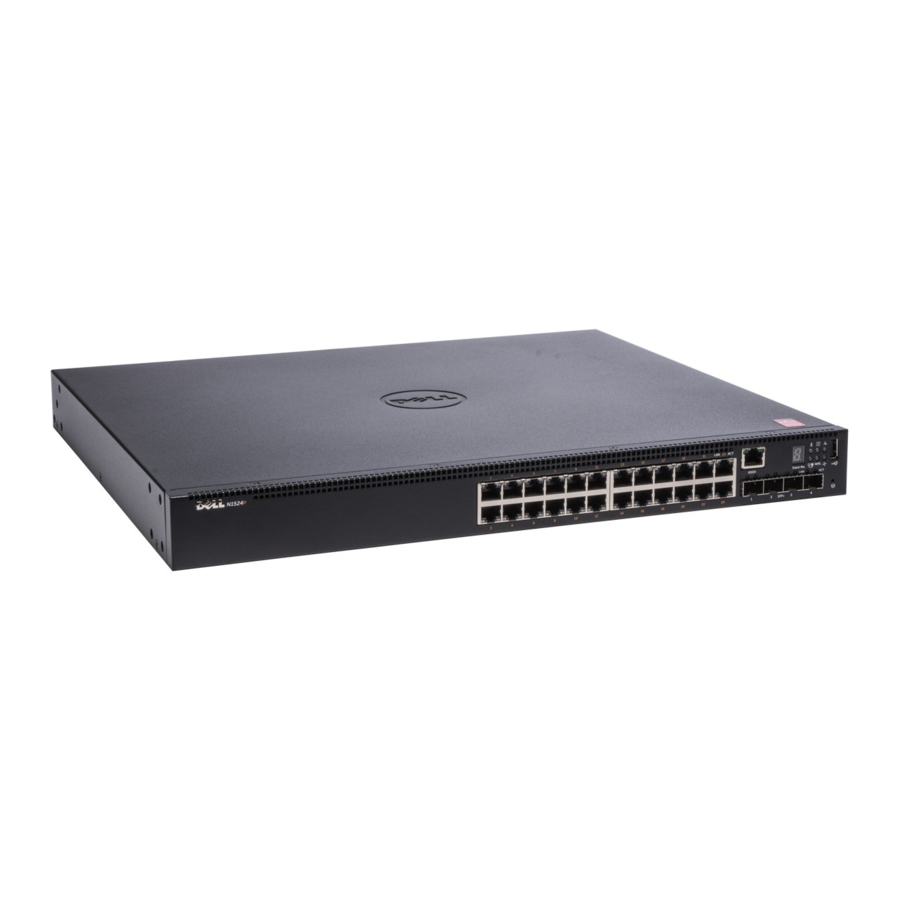
Dell N1548P Instruksi Peningkatan Firmware - Halaman 4
Jelajahi secara online atau unduh pdf Instruksi Peningkatan Firmware untuk Beralih Dell N1548P. Dell N1548P 17 halaman. Emcnetworking switches

- 1. Table of Contents
- 2. Introduction
- 3. Global Support
- 4. Firmware Upgrade Overview
- 5. Firmware Downgrade Overview
- 6. How to Access Serial Console on Dell EMC Networking N1500 Series Switches
- 7. Upgrade Example of Dell EMC Networking N1500 Series Switches
- 8. Upgrade Stack of Dell EMC Networking N1500 Series Switches
- 9. Switch Recovery Procedure
- 10. Switch Recovery Example
- 11. End of Document
Upgrade Dell EMC Networking N1500 Series Switches
Upgrade Dell EMC Networking N1500 Series Switches
The procedure given below to download firmware to an individual switch or a stack of switches.
Please do not interrupt switch operation during the downloading process as this may result in corruption of
flash memory. Do not power off a switch undergoing the upgrade process unless specifically directed to do so
by the instructions.
NOTE:
A TFTP server must be on the network and the switch software
must be accessible to the TFTP server before attempting to download the
switch software by TFTP.
NOTE:
The following TFTP server may be used if you do not have one:
http://tftpd32.jounin.net/tftpd32_download.html
An annotated download example is shown following this section.
1. Back up your configuration.
2. Upgrade using telnet or SSH require default enable authentication method or enable password in current
configuration. If not configured follow steps below to configure an enable password:
console#configure
console(config)#enable password <password>
console(config)#exit
console#copy running-config startup-config
3. Download the 6.5.2.9 firmware image (N1500v6.5.2.9.stk) to the switch or stack master.
NOTE:
Activate the image to use as the boot (active) image after the switch
resets. Images on the N1500 series switches are named active and backup.
4. Activate 6.5.2.9 firmware.
5. Reload the switch.
6. Update boot-code.
7. Reload the switch.
Page 2
