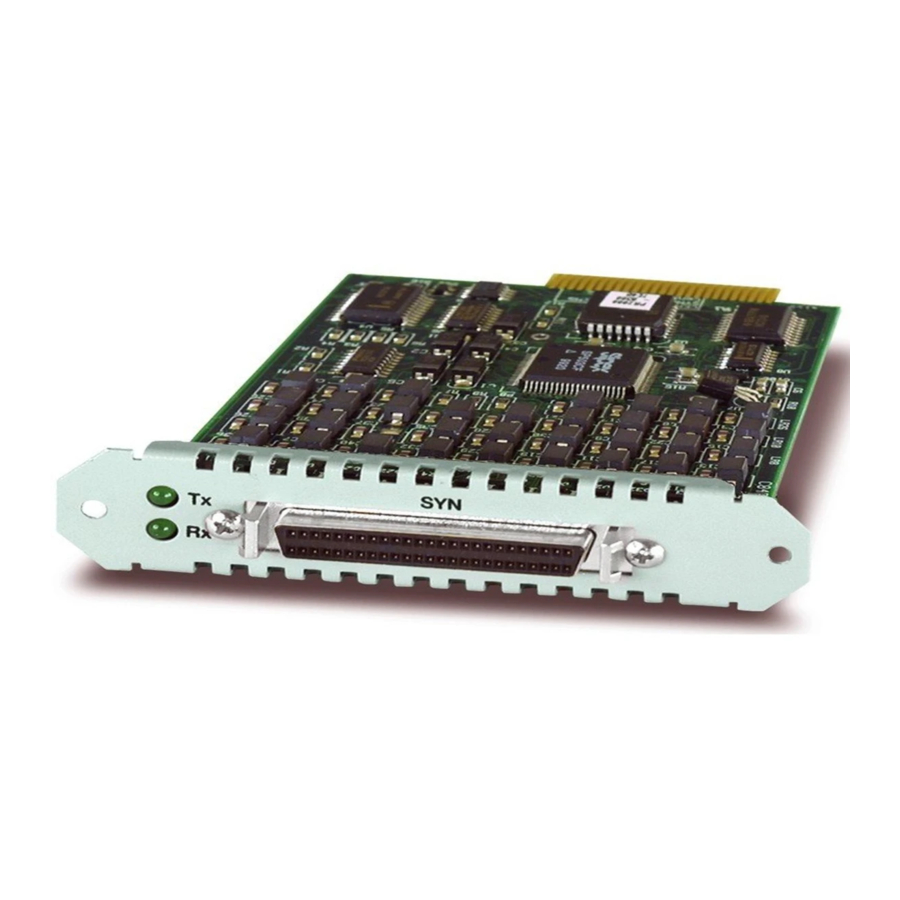
Allied Telesis AT-AR020 PRI E1/T1 Panduan Pemasangan Cepat - Halaman 8
Jelajahi secara online atau unduh pdf Panduan Pemasangan Cepat untuk Kartu Jaringan Allied Telesis AT-AR020 PRI E1/T1. Allied Telesis AT-AR020 PRI E1/T1 10 halaman. Port interface card
Juga untuk Allied Telesis AT-AR020 PRI E1/T1: Panduan Instalasi (13 halaman), Panduan Instalasi (13 halaman), Lembar data (1 halaman), Panduan Instalasi dan Keselamatan (8 halaman)

8
5.
If the PIC has jumpers, check they are correctly set
See Step 8 of the Standard Installation Method for descriptions of jumpers
and how to set them.
Do not attempt to change any jumpers, DIP switches or other hardware
configurations while the switch or router is connected to a power supply,
redundant power supply, or a 'live' network. Dangerous voltages may be
present on some parts of the board, even if the switch or router is not turned on.
6.
Slide the PIC into place
PIC bays should be filled in numerical order, starting with the lowest
available bay (e.g., bay 0) followed by bays with progressively higher
numbers.
7.
Secure the PIC by tightening its thumbscrews
8.
Return the NSM bay to use
Press the recessed Hot Swap button. The Swap LED will go out and the
In Use LED will light.
If the In Use LED lights only briefly and the Swap LED then lights
continuously, the software release does not support hot swapping of this
type of PIC.
9.
Test the PIC
There are several ways to check the PIC is installed and functioning
correctly.
The SHOW SYSTEM command displays general system information about
PICs and any other hardware installed, as well as memory, software release
and patches loaded on the switch or router.
See the Port Interface Card Hardware Reference for detailed information on PIC testing
and the operational characteristics of hot swapped interfaces.
Downloading VoIP Firmware
The following instructions are for downloading the Voice over IP (VoIP) PIC
firmware onto your PIC. The instructions assume you have successfully
installed the VoIP PIC into your router and made sure all the LEDs show as
being on.
To download the VoIP PIC firmware, do the following:
Insert the VoIP PIC into the router according to your PIC Quick Install Guide.
Open the browser of your choice, enter the url
navigate to Products, then to the Accessories and Other Products page. Click the
Show Products button beside Port Interface Cards, and click the AT-AR027/FXS
link. You will be able to download all the files you require from here.
Port Interface Card
www.alliedtelesyn.com
and
C613-04020-01 REV H
