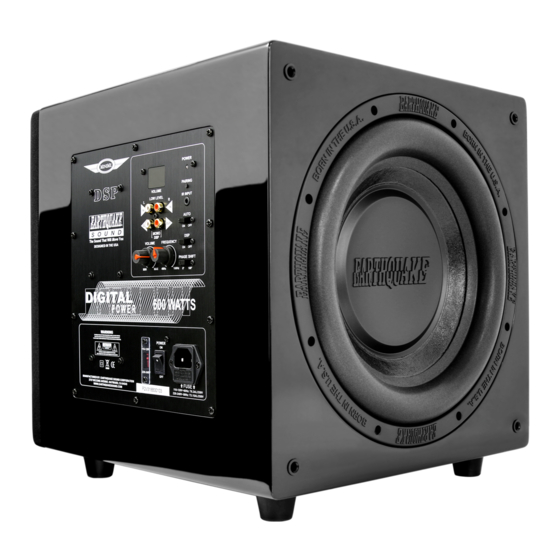
EarthQuake MiniMe DSP P10 Panduan Pengguna - Halaman 7
Jelajahi secara online atau unduh pdf Panduan Pengguna untuk Subwoofer EarthQuake MiniMe DSP P10. EarthQuake MiniMe DSP P10 19 halaman.

Control Panel Overview
(1)
(2)
(3)
Move
The Sound That Will
You
(4)
(5)
(1) LED Power Signal Indicator
This LED indicator reflects the main power
status of the amplifier as well as the state of the
amplifier (whether the AUTO Sensing is on/off
and whether signal is being fed to the amplifier).
Note that this LED will only light up when the
main power switch is in the ON position.
Signal Sensing Is there signal?
ON
AUTO
OFF
(2) Low Level RCA Inputs & Outputs
This the best way to drive audio signal to the
MiniMe DSP P10/P12.
(3) Volume Control
These remote buttons and knobs allow the user
to control the volume of the subwoofer. Always
start at the lowest setting and slowly increase
the volume until the desired subwoofer level is
reached. Use the MUTE button on the remote
to mute or un-mute the subwoofer.
Specifications are subject to change without notice.
LED Color
Yes
Green
No
Green
Yes
Green
No
Red
Yes
Red
No
Red
MONO
DSP
(4) 110V/220V AC Selector
The MiniMe DSP P10/P12 can operate in a
110-120V or 220-240V environment. Simply
slide the selector to the required power setting
and replace the fuse to the proper rating prior to
connecting the subwoofer to a power source.
(5) Main Power Switch
When switched OFF, the amplifier will remain
off as there is no AC power being fed into it. We
highly recommend keeping this switch OFF
when the subwoofer is not being used for an
extended period of time.
MiniMe DSP P10/P12
7
