Christie 140-133108 Series Lembar Instruksi - Halaman 7
Jelajahi secara online atau unduh pdf Lembar Instruksi untuk Aksesori Proyektor Christie 140-133108 Series. Christie 140-133108 Series 17 halaman. Ultra short throw lens installation
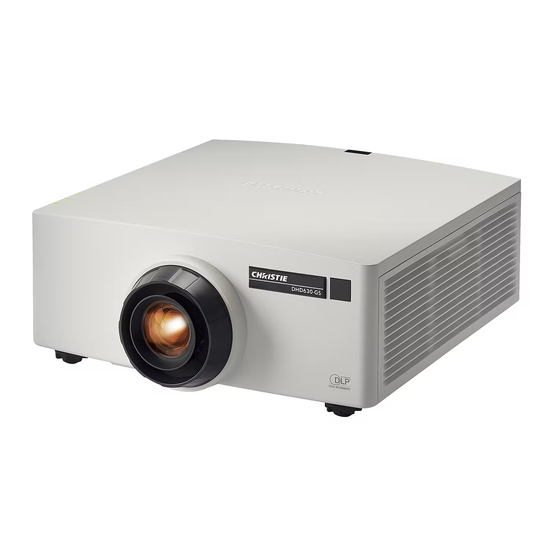
3. Place the projector upside-down on a flat, clean surface.
4. For 630-GS and 635-GS only, to ensure there is enough clearance between the lens support
bracket and the surface the projector is on, rotate each projector foot nine counterclockwise
turns.
5. Align the mounting block to the lens support bracket.
•
For 700-GS, 850-GS, and 1075-GS, align the screw holes on mounting block A to the holes
marked A on the lens support bracket.
•
For 630-GS and 635-GS, align the screw holes on mounting block B to the holes marked B
on the lens support bracket.
6. Install four M3x8 screws to secure the mounting block to the lens support bracket.
700-GS, 850-GS, and 1075-GS:
630-GS and 635-GS:
Ultra Short Throw Lens Installation Instruction Sheet
020-102569-05 Rev. 1 (11-2019)
Copyright
2019 Christie Digital Systems USA, Inc. All rights reserved.
©
Ultra short throw lens installation
7