ALLNIC AUDIO T-1500 MK2 Panduan Pemilik - Halaman 8
Jelajahi secara online atau unduh pdf Panduan Pemilik untuk Penguat ALLNIC AUDIO T-1500 MK2. ALLNIC AUDIO T-1500 MK2 13 halaman. 300b set stereo integrated amplifier

INITIAL POWER-ON
Once you have your T-1500 MK2 in place and all connections have been made to your turntable and
preamplifier, you are ready to turn on the power for your T-1500 MK2; before you power it up, though,
be sure you have:
• removed ALL the cushion materials from inside the tube chimneys;
• ensured the batteries are in the remote control – if not, insert the batteries (by removing plate on
the bottom of the remote control).
•
checked that all tubes are snug in their sockets and, if you have removed the 300Bs in the process of
removing the cushion materials, that the pin alignments for the 300Bs are correct (wide diameter
pins and narrow diameter pins in the correct holes of the sockets.
Labs and its authorized representatives are not responsible for any damage or loss to owner as a
consequence of owner installing tubes incorrectly.
•
ensured the interconnects are firmly attached.
•
turned on your source(s).
•
lowered the T-1500 MK2's volume control to zero or muted its output.
•
securely and correctly fastened the speaker cables and ensured that they are also connected
properly to the speakers.
Turn on the T-1500 MK2 by pushing the on/off vertically mounted rocker switch, located at the front of
the right side panel (facing the front of the unit) to the "on" position (See Figure 4). The "on" position is
with the vertical line on the switch (the upper portion) depressed and the part of the switch marked
with the "o" (the lower portion) in the raised position. Of course, the off position is the reverse. After
about a thirty to forty (30 - 40) second delay (the soft start), the T-1500 will be powered on.
If you are using an
external
external amplifier AFTER turning on the T-1500-MK2.
OPERATION
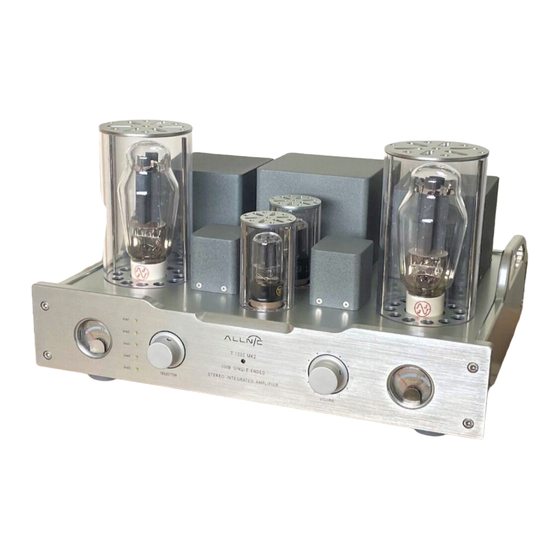
When the power is on, the current meters on the face of the chassis will illuminate. From this point on,
the T-1500 MK2's operation is straight-forward. The face of the chassis has an input selector control
knob, a volume control knob, and a pair of current meters (See Figure 7). The remote control (refer to
Figure 6) will also control the input selections (using the number buttons or the buttons labelled "CH")
and the volume (using the buttons labelled "VOL" and "MUTE"). However, it will not control the power
to the T-2000 25
th
Anniversary, which must be switched on and off manually as described above. The
power button on the remote control, at its top left hand corner (refer to Figure 6), is inoperative for the
T-2000. Remove the screws on the bottom of the remote control to replace batteries.
When you are finished listening, first turn off any amplifiers connected to the T-1500 MK2's Pre Out
connections; then turn off your T-1500 MK2 stereo integrated amplifier, and then turn off your sources.
In the case of any failure, please contact your Allnic dealer for assistance.
amplifier or amplifiers,
using the T-1500 MK2's Pre Out connections
8
This is essential.
Allnic Audio
, turn on the
