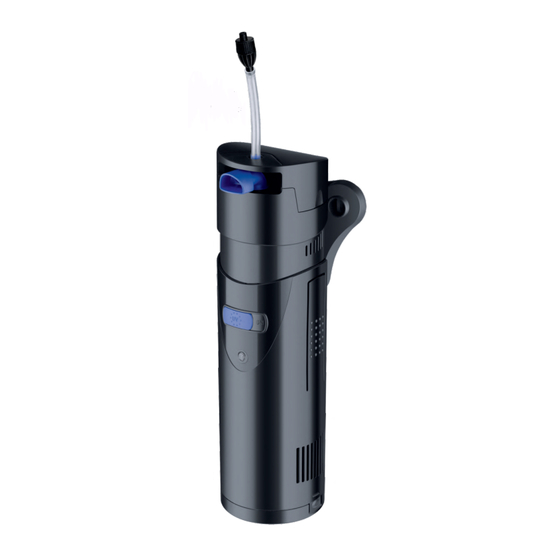
AllPondSolutions 700IF+ Panduan Memulai Cepat - Halaman 9
Jelajahi secara online atau unduh pdf Panduan Memulai Cepat untuk Sistem Penyaringan Air AllPondSolutions 700IF+. AllPondSolutions 700IF+ 16 halaman. Aquarium internal filter with uv

Set Up
Should you need to disassemble your unit for maintenance or repair purposes,
please follow the steps below:
Unplug the power cord from the mains. Move your unit to a flat stable surface
near a sink or other drain. (Be sure to hold upright to avoid spillages.)
Remove all parts from the box to check all parts are present.
Before Installation check that the UV bulb inside the IF+ is installed correctly.
Remove the body by squeezing both pressure points
on the side of the body and pulling the motor and body
apart. Visually check that the UV bulb is inserted still
and has not been knocked out of its connection point.
Attach the Suction Cups to the Base Plate. Make sure
you twist them by 90 degrees (as per photo below) or they will keep falling out.
attach the base plate to the back of the IF+.
Attach the Venturi Outlet to the top of the unit and place the IF+ inside your fish
tank with the suction cups against the glass in your preferred location. Make
sure the venturi outlet is positioned above the water level.
IMPORTANT!
Ensure this location allows the IF+ to be fully submerged at all
times
Turn the UV on by sliding the front On / Off switch to the left.
Plug the IF+ into the mains ensuring that you leave a drip loop in the cable to
avoid condensation running down the power cable towards your mains power
socket.
