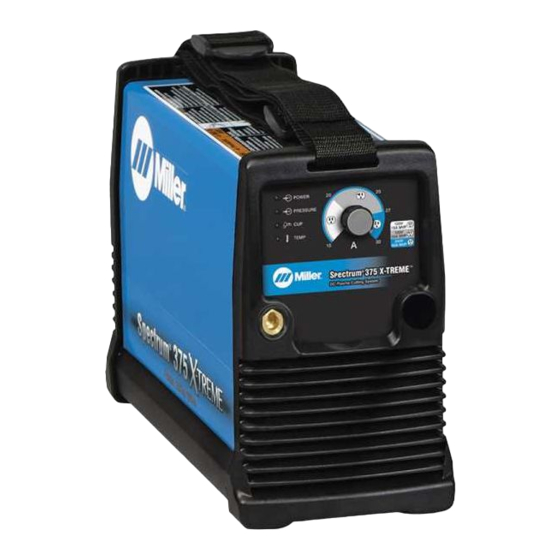
Miller XT30 Panduan Pemilik - Halaman 30
Jelajahi secara online atau unduh pdf Panduan Pemilik untuk Sistem Pengelasan Miller XT30. Miller XT30 40 halaman. Air plasma cutting and gouging
Juga untuk Miller XT30: Panduan Pemilik (44 halaman)

7-3. Wrapper Removal
Tools Needed:
Torx 25
7-4. Checking Shield Cup Shutdown System
.
Power must be reset whenever the cup shutdown system is activated.
Always turn Off power when changing or checking consumables. Do NOT
overtighten torch shield cup. Gently finger tighten cup onto torch.
7-5. Checking Or Replacing Filter Element
Tools Needed:
Torx 25
!
Significant DC voltage can remain
on capacitors after unit is Off.
Check to see that front panel lights
(LEDs) have stopped flashing and
are off before removing wrapper.
Turn power Off, and disconnect input
power plug from receptacle. Remove
wrapper from unit (see Section 7-3).
OM-253 555 Page 26
.
A complete Parts List is available at www.MillerWelds.com
1
1
Filter Base
2
Filter
3
Filter Cup
Unscrew filter cup from base.
Remove cup.
Unscrew filter element from base.
2
!
1
!
1
2
Remove Torx screws and slide
wrapper off.
Check filter element for dirt and moisture,
and replace if necessary.
Be sure that all parts are clean and dry.
Reinstall filter element, and secure filter
cup.
Reinstall wrapper.
Turn
off
power,
and
disconnect input power plug
from receptacle or turn off and
lockout/tagout line discon-
nect device before working on
unit.
Significant DC voltage can
remain on capacitors after unit
is Off. Check to see that front
panel lights
(LEDs)
have
stopped flashing and are off
before removing wrapper.
Wrapper
Torx Screws (Fine Thread)
Ref. 251 808-A
1
Torch Shield Cup
Turn Power On and loosen shield
cup. If shutdown system works
properly, Cup light comes on. If not,
immediately turn Off power and
have Factory Authorized Service
Agent check unit.
If system works properly, retighten
cup and reset power.
Ref. 253 554-A
1
2
3
Ref. 251 808-A / Ref. 804 506-B
