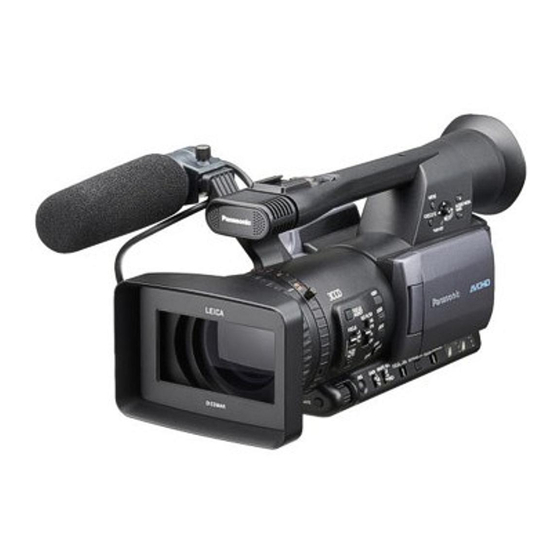
Panasonic AG-HMC150 Panduan Pengguna - Halaman 7
Jelajahi secara online atau unduh pdf Panduan Pengguna untuk Camcorder Panasonic AG-HMC150. Panasonic AG-HMC150 35 halaman. Avchd camcorder
Juga untuk Panasonic AG-HMC150: Brosur & Spesifikasi (8 halaman), Menu informasi (20 halaman), Brosur & Spesifikasi (12 halaman), Brosur (16 halaman), Panduan Produk (22 halaman), Petunjuk Dasar (20 halaman)

OIS button
e Optical Image Stabilization is used to set the
camera shake compensation to on or off. In some
situations this will make the picture steadier when
you are shooting hand held. Press the OIS button to
turn the function on and off. A little hand icon will
appear in the view nder when the OIS function is
active. Turn OIS off when using a tripod for more
natural images, as small moves and pans will show the
image stabilization attempt to reduce movement and
then give up, making your smooth pan on a tripod
less than smooth.
EVF DTL button
is turns on detail
enhancement that
emphasizing the
outlines of the images
you see in the
view nder or LCD
panel that makes it
easier to focus.
Emphasizing the
outlines does not effect the images you shoot.
Pushing the button again turns this off.
Zebra button
When turned on, these can tell you when you are
overexposing part of the frame, a zebra-like pattern
will appear over the overexposed area. is button
can be set for Zebra 1 = 80%, Zebra 2=100% (See
the discussion in the manual of Set Up mode in
Menu to change the value of the Zebra). Pushing on
the Zebra button takes you through the settings,
Zebra 1, Zebra 2, Marker On, Marker Off. e
marker is a "spot meter" that only measures the
exposure of the small square in the middle of the
LCD display in terms of percentage (100 being
white, 50 middle gray, 0 pure black), this number is
displayed in the lower left hand corner of the LCD
and view nder when in Marker Mode.
WFM button
Press the WFM button to display the video
waveform on the LCD display. is shows you the
of the overall brightness of objects in the frame.
Overexposed portions of the image will be shown
along the top of the waveform (100) with middle
grey values in the middle (50) and black at the
bottom (0). Point the camera to different scenes and
adjust the explore and see how the waveform changes.
In the rst waveform image, the scene is quite dark,
Introduction to the Panasonic AG-HMC150 AVCHD camcorder (rough draft)
white (100, top line on the graph), which would be
considered properly exposed.
Shutter and Speed Sel Buttons
Press the shutter button to change the speed then
press the Speed-Sel button to set the speed (see page
46 in the manual for more details).
User Buttons
User 1,2, and 3: e setting options
for the user buttons are in the menu
under SW Mode. ere are eleven
functions that can be allotted to the
user buttons for special shooting
conditions or effects (see manual).
Audio Functions
e use of these functions were discussed in more
detail earlier in this document.
Audio Mon/Var Buttons
Use these buttons to adjust the
volume of the built in monitor or
headphones connected to the
camera.
Audio Control
Dials
ese dials control
the audio recording
level. Refer to the level readout (discussed earlier) and
listen with headphones for the best results.
http://kino-eye.com/dvb/
because there are no
elements that are
brighter than 50%
(middle grey). e
second waveform
image shows a scene
with a full range of
values with some
highlights
approaching 100 and
a nice distribution of
values across the
entire range from
black (0, bottom line
on the graph) to
7 / 35
