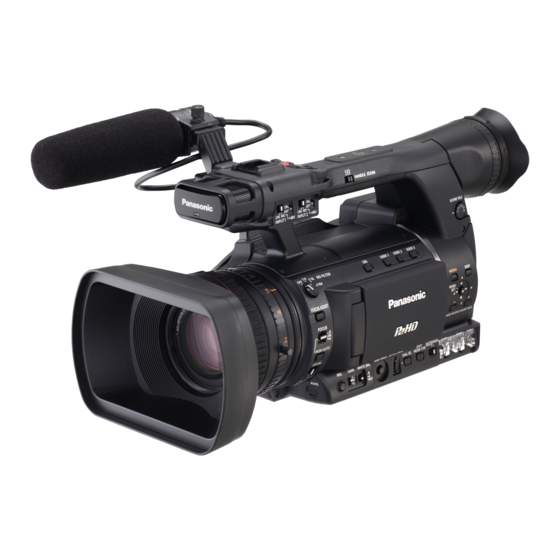
Panasonic AG-HPX250EN Panduan Petunjuk Pengoperasian - Halaman 26
Jelajahi secara online atau unduh pdf Panduan Petunjuk Pengoperasian untuk Camcorder Panasonic AG-HPX250EN. Panasonic AG-HPX250EN 36 halaman.
Juga untuk Panasonic AG-HPX250EN: Penyesuaian Listrik (20 halaman)

Setting the calendar
The CLOCK SETTING value is recorded in
the contents (clip), and affects the sequence
of playback of the thumbnails. Before carrying
out recording, be sure to check and set CLOCK
SETTING and TIME ZONE.
This shows you how to adjust the calendar to 17:20
on June 25, 2012.
1
Set the POWER/MODE switch to ON.
(Page 25)
2
Press the MENU button.
3
Push the Operation lever in the ▲ ▼
direction to set the time difference from
Greenwich Mean Time under TIME ZONE
on the setting menu OTHER FUNCTIONS
screen. (Page 152 of Vol. 2)
Factory default setting is +00:00.
OTHER FUNCTIONS
USER FILE
REMOTE
1394 CONTROL
1394 CMD SEL
ACCESS LED
TALLY LAMP
CLOCK SETTING
TIME ZONE
PUSH MENU TO RETURN
• For details on menu operation, refer to "Basic
operations of setup menus" (Page 28).
• You can also use the corresponding buttons
on the remote control. For details, see
"Description of parts" (Remote control).
(Page 19)
4
In the setup menus, OTHER FUNCTIONS
screen, CLOCK SETTING, select CHANGE.
OTHER FUNCTIONS
USER FILE
REMOTE
1394 CONTROL
1394 CMD SEL
ACCESS LED
TALLY LAMP
CLOCK SETTING
TIME ZONE
PUSH MENU TO RETURN
5
Push the Operation lever in the ◄ ►
direction to set YEAR to 2012.
CLOCK SETTING
YEAR
MONTH
DAY
HOUR
MINUTE
PUSH MENU TO RETURN
Choose the calendar from January 1st, 2000
to December 31, 2037.
26
>>>
1
OFF
STOP
ON
OFF
>>>
+9:00
>>>
1
OFF
STOP
ON
OFF
RETURN
CHANGE
2012
YES
OCT
01
12
00
6
Push the Operation lever in the ▼ direction
to move to the MONTH setting.
CLOCK SETTING
YEAR
MONTH
DAY
HOUR
MINUTE
PUSH MENU TO RETURN
7
Push the Operation lever in the ◄ ►
direction to set MONTH to JUN.
CLOCK SETTING
YEAR
MONTH
DAY
HOUR
MINUTE
PUSH MENU TO RETURN
8
Set DAY, HOUR, and MINUTE using the
method shown in steps 6 and 7.
• This is a 24-hour clock.
CLOCK SETTING
YEAR
MONTH
DAY
HOUR
MINUTE
PUSH MENU TO RETURN
9
Press MENU three times to exit the menus.
• The clock can vary in accuracy so check that
the time is correct before shooting.
• When using the camera-recorder overseas,
do not set the CLOCK SETTING option to the
local time, but instead enter the time difference
from Greenwich mean time according to TIME
ZONE.
2012
OCT
YES
01
12
00
2012
JUN
YES
01
12
00
2012
JUN
YES
25
17
20
