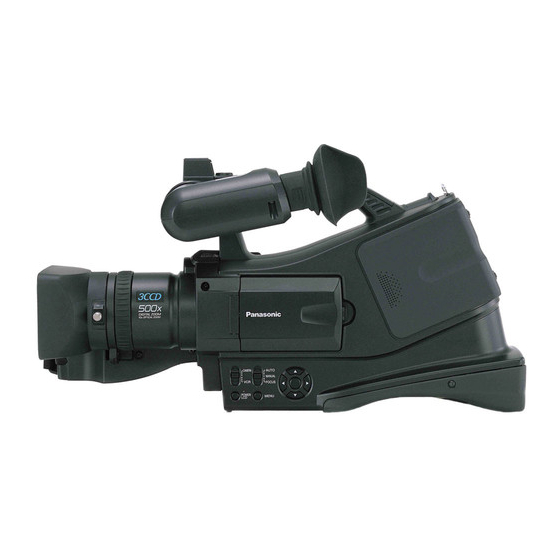
Panasonic AGDVC20P - 3 CCD DV CAMCORDER Panduan Petunjuk Pengoperasian - Halaman 36
Jelajahi secara online atau unduh pdf Panduan Petunjuk Pengoperasian untuk Camcorder Panasonic AGDVC20P - 3 CCD DV CAMCORDER. Panasonic AGDVC20P - 3 CCD DV CAMCORDER 42 halaman. Agmini-dv camera/recorder
Juga untuk Panasonic AGDVC20P - 3 CCD DV CAMCORDER: Panduan Petunjuk Pengoperasian (40 halaman), Panduan Petunjuk Pengoperasian (42 halaman)

Others
1: The indication disappears, the screen is frozen, or no
operation can be performed.
• Turn off the power to the camera-recorder. If the power
cannot be turned off, press the [RESET] button, or detach
the battery or AC adapter and then reattach it. After that, turn
on the power again. If normal operation is still not restored,
detach the power connected, and consult the dealer who you
purchased the camera-recorder from.
2: "PUSH THE RESET SWITCH" is displayed.
• An irregularity in the camera-recorder has been automatically
detected. Remove the cassette for data protection and then
press the [RESET] button. The camera-recorder will be
activated.
• If you do not press the [RESET] button, the power to the
camera-recorder is turned off automatically about 1 minute
later.
• Even after you press the [RESET] button, the indication may
still appear repeatedly. If so, the camera-recorder needs
repair. Detach the power connected, and consult the dealer
who you purchased the camera-recorder from. Do not
attempt to repair the appliance by yourself.
36
Others
Cautions for Use
ª
About condensation
If you turn the camera-recorder on when condensation occurs
on the head or the tape, condensation Indication [3] (yellow
or red) is displayed on the viewfinder or the LCD monitor and
the messages [3DEW DETECT] or [3EJECT TAPE] (only
when the tape is inserted) appear. If so, follow the procedure
below.
3 in yellow:
Dews are slightly adhering on the head or the tape.
3 in red:
Dews are adhering on the head or the tape.
1
Remove the tape if it is inserted.
≥It takes about 20 seconds to open the cassette holder. This
is not a malfunction.
2
Leave the camera-recorder with the cassette cover
closed to cool or warm it to the ambient temperature.
When [3] in yellow
≥You cannot use the Tape Recording/Playback Mode.
Leave the camera-recorder for about 30 minutes.
When [3] in red
≥The power lamp blinks for about 1 minute and then the
camera-recorder automatically turns off. Leave it for about
2 to 3 hours.
3
Turn the camera-recorder on again, set it to the Tape
Recording/Playback Mode and then check if the
condensation indication disappears.
Especially in cold areas, moisture may be frozen. If so, it may
take more time before the condensation indication disappears.
Watch for condensation even before the condensation
Indication is displayed.
≥The condensation indication may not appear depending on
circumstances. When condensation occurs on the lens or the
camera-recorder, it may also occur on the head and the tape.
Do not open the cassette cover.
When the lens is fogged:
Set the [OFF/ON] switch to [OFF] and leave the camera-
recorder in this condition for about 1 hour. When the lens
temperature becomes close to the ambient temperature, the
fogging disappears naturally.
ª
About dirty heads
If video heads (the parts that closely contact with the tape)
become dirty, normal recording and playback are not
properly performed. Clean the heads with the digital video
head cleaner.
≥Insert the head cleaner into the camera-recorder, set it to the
Tape Playback Mode, and play it back for about 10 seconds.
(If you do not stop the playback, it automatically stops about
15 seconds later.)
≥We recommend cleaning the heads periodically.
If the heads become dirty, "NEED HEAD CLEANING"
appears during recording. During playback, moreover, the
following symptoms appear.
≥Mosaic-like noise appears partially or the sound is
interrupted.
≥Black or blue mosaic-like horizontal stripes appear.
