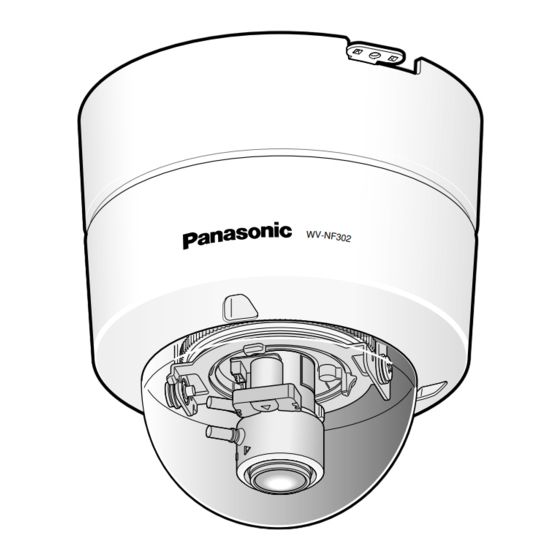
I Mounting side
!4 External I/O terminals
Connect an external device to these ter-
minals. ( page 23)
!5 INITIAL SET button
Use this button to reset the settings of
the camera to the default settings.
Turn off the power of the camera. Then,
turn on the power of the camera while
holding down this button and wait around
5 seconds without releasing this button.
Wait around 30 seconds after releasing
the button. The camera will restart and
the settings including the network and
the date/time settings will be initialized.
!6 12 V DC power terminal
Connect the power cord from a 12 V DC
power supply. ( page 22)
!7 Audio input/output terminal
Connect the audio cable (accessory) to
this connector. ( page 23)
!8 Network connector/Access LED, Link
LED
Connect a LAN cable (category 5 or bet-
ter) to this connector. ( page 23)
Access LED (LINK): This LED will light
when accessing a network. [Green]
Link LED (ACT): This LED will light when
communication with the connected
device is available. [Orange]
These LEDs cannot be turned on/off by
the indicators ON/OFF switch w.
To determine whether or not to light the
link LED and the access LED, configure
the setting using a web browser.
!9 Safety wire holder
Attach the safety wire fixed with the cam-
era mount bracket to the holder. Make
sure that the safety wire is securely
hooked on the safety wire holder when
adjusting or installing the camera.
( page 20)
I Camera mount bracket
@0 Safety wire
Attach this wire to the safety wire holder
of the camera. Make sure that the safety
wire is securely hooked on the safety
wire holder when adjusting or installing
the camera. ( page 20)
15

