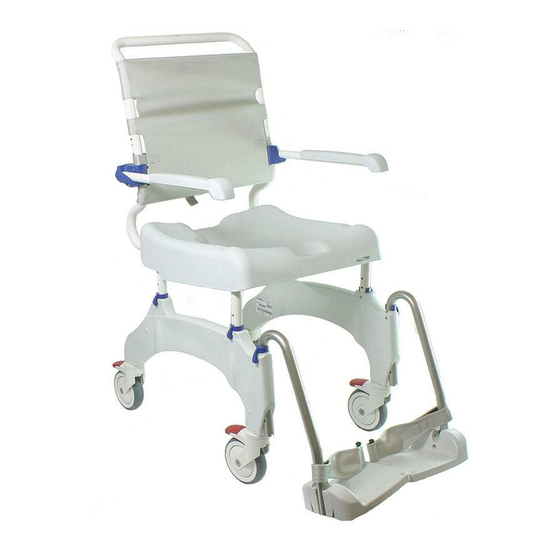
Aquatec OCEAN Instruksi Perakitan
Jelajahi secara online atau unduh pdf Instruksi Perakitan untuk Bantuan Mobilitas Aquatec OCEAN. Aquatec OCEAN 4 halaman. Self-propelling wheels
Juga untuk Aquatec OCEAN: Panduan Petunjuk Pengoperasian (10 halaman), Instruksi Perakitan (2 halaman)

Montageanleitung
Montage der Nabe und Bremse für Aquatec®Ocean 24"-Räder
Assembly instruction
Assembly of the hub and brake for self-propelling wheels Aquatec®Ocean
Monteringsanvisning
Montering av nav och bromsar for drivhjul Aquatec®Ocean
WARNUNG / WARNING / VARNING
▸ Alle, in diesem Dokument beschriebenen, Montagen und Einstellungen müssen von einem autorisierten Fachhändler/Techniker
vorgenommen werden.
▸ All assemblies and adjustements, described in this document, must be carried out by an authorised dealer/technician.
▸ Alla monteringar och justeringar som beskrivs i det här dokumentet måste utföras av en auktoriserad återförsäljare/tekniker.
Tools / Werkzeuge / Verktyg:
B
A
Nabe montieren
Die Verfahrensweise ist für die linke und rechte Seite identisch!
i
1. Abdeckkappen aus den Aufnahmen Ⓓ im Seitenteil Ⓒ entfernen.
2. Scheibe Ⓑ auf die Nabe Ⓐ aufschieben.
3. Nabe mit Scheibe von außen in die Aufnahme Ⓓ am Seitenteil stecken.
4. Scheibe Ⓑ von innen auf die Nabe aufschieben und die Mutter Ⓔ aufschrauben.
5. Die Schraube mit geeignetem Werkzeug gegenhalten und die Mutter Ⓔ mit einem Drehmoment von 20 - 30 Nm fest anziehen.
Assemble the hub
The procedure is the same for the right and left side.
i
1. Remove the dummy plugs from the holes Ⓓ of the side frame Ⓒ.
2. Put a washer Ⓑ on the hub Ⓐ.
3. Push the hub with the washer into the hole Ⓓ of the side frame.
4. From the inside, put a washer Ⓑ on the hub and screw on the nut Ⓔ.
5. Hold the bolt with a suitable tool and tighten the nut Ⓔ with a torque of 20 - 30 Nm.
Montering av nav
Förfaringssättet är identiskt för stolens högra och vänstra sida.
i
1. Montera av täcklocken Ⓓ från sidogavlarna Ⓒ.
2. För på en hålbricka Ⓑ på navdelen Ⓐ.
3. För navdelen med brickan genom hålet Ⓓ i sidogaveln från stolens yttersida.
4. Sätt på en hålbricka Ⓑ på navdelen från stolens insida och skruva på muttern Ⓔ.
5. Håll skruven med ett lämpligt verktyg och dra åt muttern Ⓔ med minst ett dragmoment på 20 - 30 Nm.
17, 24
D
E
B
C
Ⓔ →
20 - 30 Nm
DE
EN
SV
