HP ProCurve 1600M Panduan Instalasi - Halaman 22

Jelajahi secara online atau unduh pdf Panduan Instalasi untuk Beralih HP ProCurve 1600M. HP ProCurve 1600M 28 halaman. Redundant power supply
Juga untuk HP ProCurve 1600M: Lembar Spesifikasi (12 halaman), Baca Saya Terlebih Dahulu (8 halaman), Panduan Peninjau (27 halaman), Panduan Tambahan (2 halaman), Panduan Tambahan (2 halaman), Panduan Instalasi (28 halaman), Panduan Instalasi (36 halaman), Panduan Pengaturan Cepat (2 halaman), Panduan Pengaturan Cepat (4 halaman), Panduan Pengguna (8 halaman), Suplemen Manual (28 halaman), Baca Saya Terlebih Dahulu (16 halaman), Instalasi dan Penghapusan (2 halaman), Panduan Instalasi (12 halaman), Panduan Perencanaan dan Pelaksanaan (40 halaman), Petunjuk Pembongkaran Akhir Masa Pakai Produk (2 halaman), Panduan Instalasi (46 halaman), Panduan Diagnostik (2 halaman), Petunjuk Pembongkaran (2 halaman)
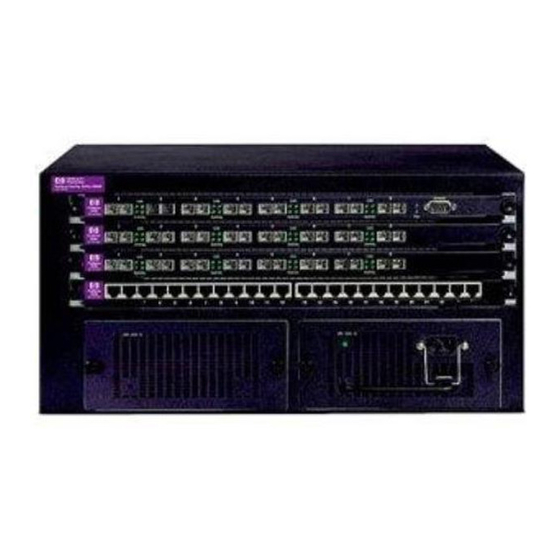
HP ProCurve 1600M Panduan Instalasi

Replacing or Removing the Module

C a u t i o n
16
Replacing or Removing the Module
Follow these procedures to replace the Gigabit Stacking Module with another,
or to remove the module without replacing it:
1. Remove any network cables from the ports on the module.
2. On the module you want to remove from the switch, unscrew the retaining
screws enough to disconnect them from the threaded holes in the switch.
3. Rotate the lever handle fully open to disconnect the module from the
switch connectors. Then slide the module out from the slot.
4. Do one of the following:
• If you will be installing another module in the slot, go to "Install
Transceivers Into the Module" on page 5.
• If you will not install another module in the slot (that is, leave it empty),
then install a slot cover plate over the empty slot opening.
For proper cooling and reduction of electromagnetic emissions, ensure that
a slot cover is installed on any unused transceiver or module slot.
5. If you are replacing the module with a module of a different type (for
example, replacing a Gigabit-LX Module with a Gigabit Stacking Module),
then reset the switch, as described under "Reset the Switch" on page 10.
If you are replacing the module with another one of the same type, it is not
necessary to reset the switch. The current configuration for ports in that
slot will apply to the new module.