HP ProCurve 1600M Panduan Pengaturan Cepat - Halaman 2

Jelajahi secara online atau unduh pdf Panduan Pengaturan Cepat untuk Beralih HP ProCurve 1600M. HP ProCurve 1600M 4 halaman. Redundant power supply
Juga untuk HP ProCurve 1600M: Lembar Spesifikasi (12 halaman), Baca Saya Terlebih Dahulu (8 halaman), Panduan Peninjau (27 halaman), Panduan Tambahan (2 halaman), Panduan Tambahan (2 halaman), Panduan Instalasi (28 halaman), Panduan Instalasi (36 halaman), Panduan Instalasi (28 halaman), Panduan Pengaturan Cepat (2 halaman), Panduan Pengguna (8 halaman), Suplemen Manual (28 halaman), Baca Saya Terlebih Dahulu (16 halaman), Instalasi dan Penghapusan (2 halaman), Panduan Instalasi (12 halaman), Panduan Perencanaan dan Pelaksanaan (40 halaman), Petunjuk Pembongkaran Akhir Masa Pakai Produk (2 halaman), Panduan Instalasi (46 halaman), Panduan Diagnostik (2 halaman), Petunjuk Pembongkaran (2 halaman)
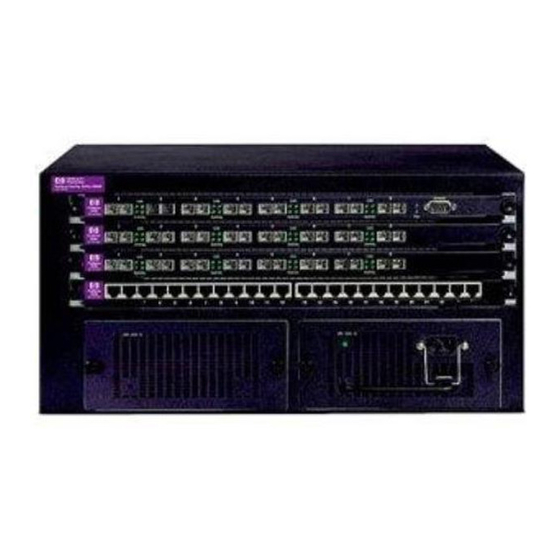
HP ProCurve 1600M Panduan Pengaturan Cepat
4.
Install the Switch Hardware (Continued)
Wall (or Under-Table): For wall or under-table mounting,
use a #1 Phillips (cross-head) screwdriver and the 20-mm M4
tap screws (included). For screw positions, see the mounting
template on page 4. (Under-Table: After installation, a third
screw may be used to prevent switch movement.)
For wall-mounting, the network ports must be facing up (see
figure). Do not mount the switch with ports facing down, or
ventilation ducts on the side of the switch facing up or down.
(See "Safety Precautions" on page 3.)
Rack Mounting: A special rack-mounting kit is included. Use a #1 Phillips (cross-head) screwdriver to attach the special
brackets to the switch using the eight 8-mm M4 screws. Then use the four number 12-24 screws to secure the brackets to the
rack.
5.
(Optional) Lock the Switch. Use a Kensington lock or
similar device (not included) to physically secure the switch.
6
. Power On the Switch and Connect Network Cables.
For transceiver connections, use only supported HP ProCurve
mini-GBIC/SFP transceivers.
After installing a transceiver, allow it to initialize (wait a few
seconds) before removing it.
M-4 tap
screws
2
Ventilation